Even with the rise of social media and messaging apps, email is still going strong. Can you think of anyone who doesn’t have an email account? We can’t either. This means there’s a good chance that quite a few of your customers prefer to request IT support through this channel.
Your IT support operations use Jira Service Management but are tired of copying and pasting email requests into tickets? Or perhaps you’re looking to migrate your email ticket management to Jira Service Management? If this sounds familiar, this article is just for you.
Before we dive into how to create a Jira ticket from an email, let’s start with a quick overview of Jira Service Management and its email ticketing capabilities.
Overview of Jira Service Management and its email ticketing feature
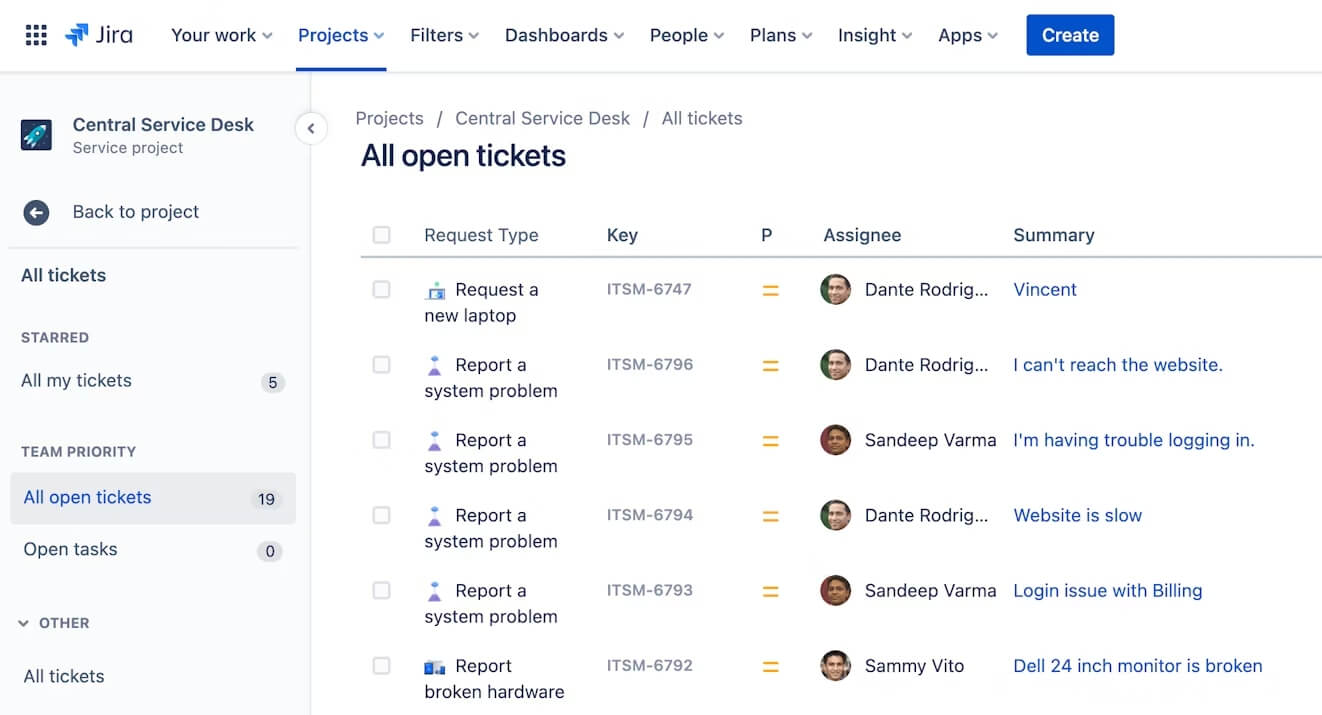
Jira Service Management (JSM or, here, simply Jira) is an IT service management platform that’s part of the Atlassian family, alongside popular tools like Confluence and Jira Software. Built on ITIL principles, it helps organizations enhance their IT operations with a variety of features designed to streamline the management of service requests, incidents, problems, assets, changes, and more. Depending on your organization's security needs, you can choose between a cloud-based version or a self-hosted option.

Source: Atlassian
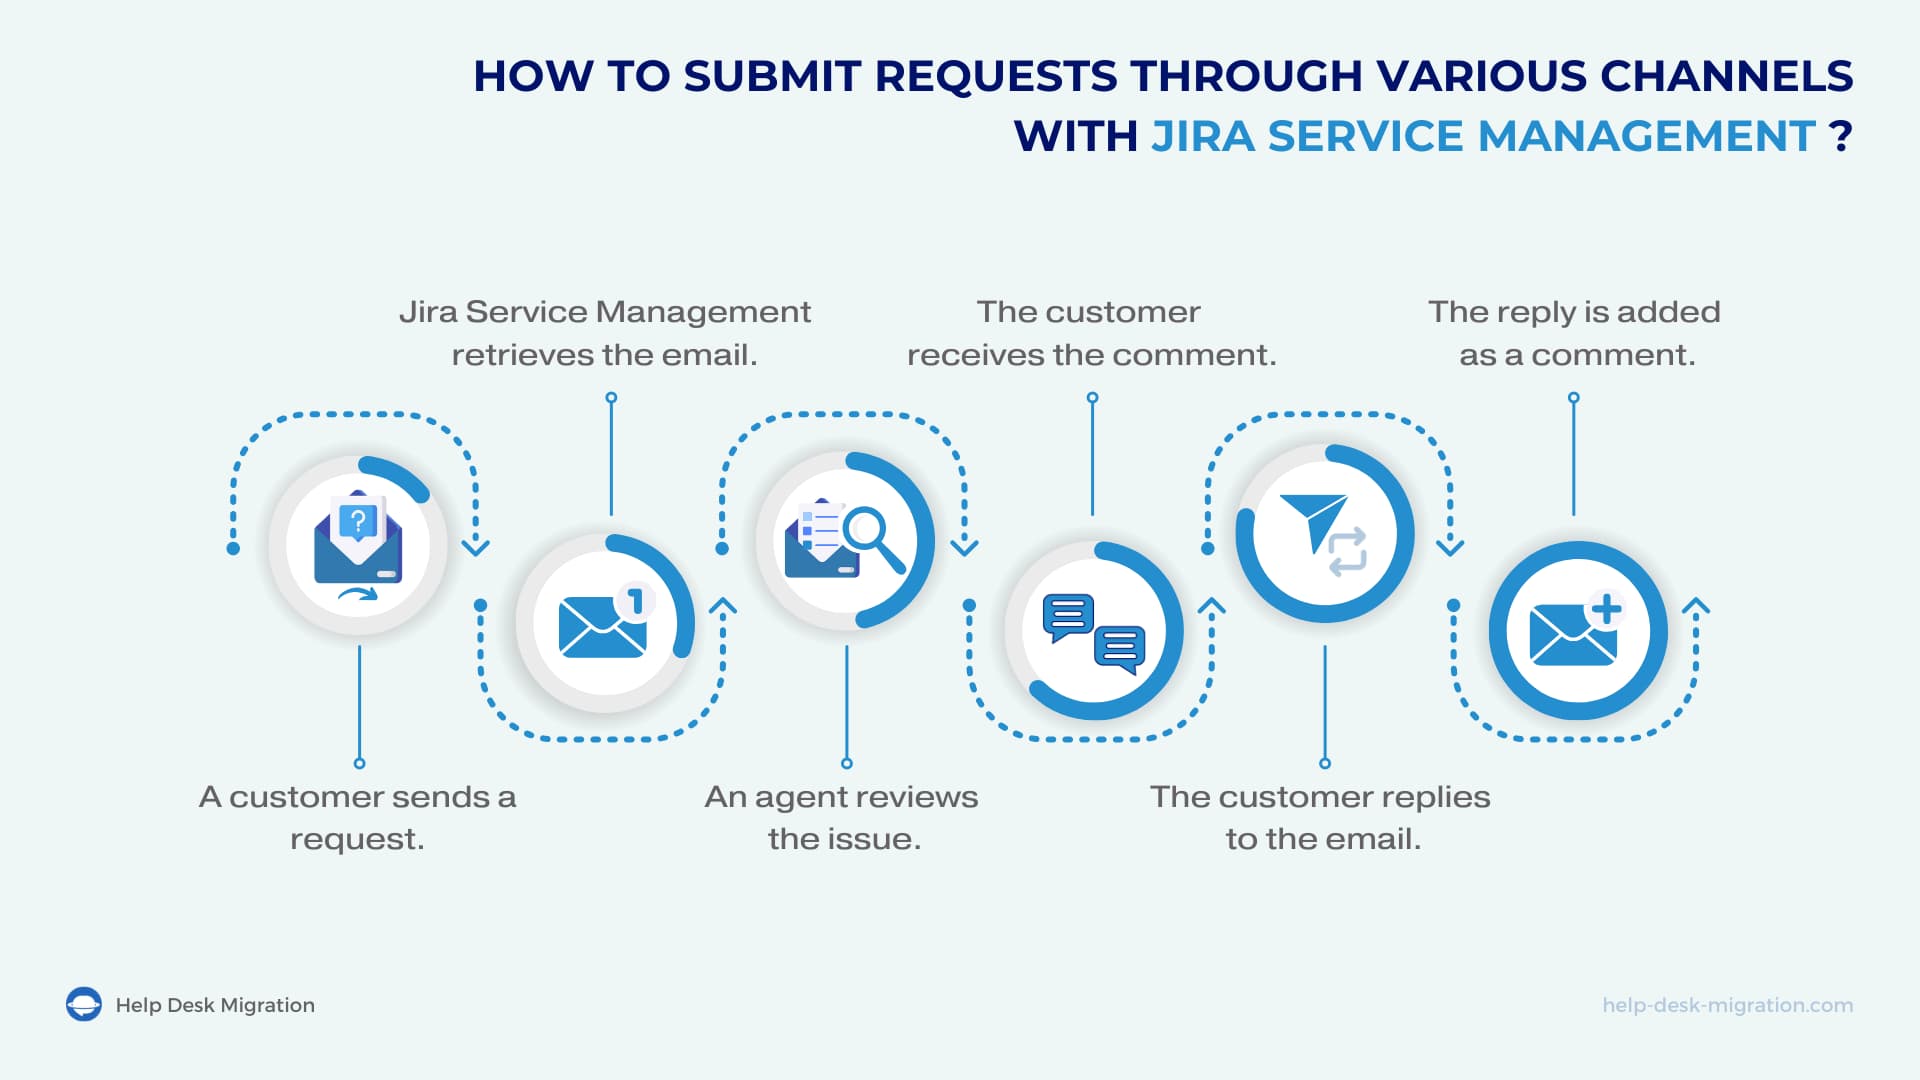
With Jira Service Management, customers can easily submit requests through various channels, including directly from their email inbox. Here are a few examples of how it works:
1. A customer sends a request.
A customer named Sarah is having trouble with the Wi-Fi connection in her department. She sends an email to the dedicated support address for your service project, saying: "I'm having issues with my Wi-Fi. It keeps disconnecting, and I can't seem to get a stable connection."
2. Jira Service Management retrieves the email.
Jira Service Management finds Sarah's email, retrieves it, and creates a new issue in the system. The subject of her email becomes the summary of the ticket, and the body of her message becomes the description.
3. An agent reviews the issue.
An IT support agent named Mark sees Sarah's issue in the project queue labeled "Wi-Fi Issues." He opens the ticket, reviews her description, and adds a comment: "Hi Sarah, I’m sorry to hear you’re having trouble with your Wi-Fi. Can you please let me know if you’ve tried restarting your router?"
4. The customer receives the comment.
Sarah receives an email notification containing Mark's comment.
5. The customer replies to the email.
Sarah replies directly to the email, saying: "Yes, I’ve restarted my router several times, but it still disconnects."
6. The reply is added as a comment.
Mark receives Sarah's reply as another email notification and sees it in Jira Service Management. Her response is automatically added as a comment on the original ticket.

And that’s just one example! The email-to-Jira Service Management setup can handle a wide range of use cases beyond reporting Wi-Fi connectivity issues. For instance, customers might find it convenient to use email to request software installations, reset passwords, report hardware problems, ask for access to certain systems, make general IT inquiries, or even provide feedback and suggestions.
While the specific use cases may vary, one thing stays consistent: your team won’t have to switch between different apps. They can stay within Jira Service Management the whole time, which can greatly benefit your organization.
4 Benefits of creating Jira Tickets from email
While you might as well continue to create Jira tickets from email manually, the email-to-Jira workflow offers a much smoother and more efficient experience—for both your team and your customers.
Here are the key benefits of this integration:
Faster ticket management
Requests from customers come in directly as tickets.
When Sarah emails about her Wi-Fi issues, the ticket is created in JSM automatically, without any delay. Mark or another agent can quickly access this ticket, assign a priority, and start working on a solution right away. This streamlined process helps teams respond to issues faster, prioritizing urgent matters.
Higher accuracy
Manual data entry can lead to mistakes—like missing important details or misclassifying issues. By automating the creation of tickets from emails, you minimize the risk of human error.
For example, when Sarah's email is converted into a ticket, all the information she provided is captured accurately. This means agents have all the context they need to resolve issues effectively without having to chase down missing information.
No issue left unresolved
With every email turning into a ticket, you can be sure that no request slips through the cracks. If Sarah’s Wi-Fi problem is logged as an issue in Jira Service Management, it will stay on the radar until it’s resolved. Agents can track progress and follow up as needed, ensuring that every customer concern is fully addressed.
Improved customer satisfaction
When customers like Sarah see quick responses and resolutions to their issues, their satisfaction goes up a notch. They appreciate the ease of communicating via email and the timely updates on their requests.
| Benefit | Description |
|
Faster Ticket Management |
Customer requests are automatically converted into tickets, allowing agents to quickly prioritize and resolve issues without delay. |
|
Higher Accuracy |
Automating ticket creation reduces manual errors, ensuring all customer details are captured accurately for efficient issue resolution. |
|
No Issue Left Unresolved |
Every email becomes a ticket, ensuring no request is missed. Agents can track and follow up on progress until the issue is resolved. |
|
Improved Customer Satisfaction |
Faster responses, accurate ticket tracking, and timely updates lead to greater customer satisfaction, making communication smoother and more efficient. |
Integrating email with Jira Service Management means faster responses, greater accuracy, more thorough tracking of issues, and happier customers—all contributing to a more efficient support process. The next question is, how do you set up this integration?
Setting up Jira-Email integration
You'll need administrator permission to connect Jira Service Management to your email account. The good news is that setting up email integration in JSM is simpler than in other Atlassian products.
Step 1: Add an email channel
Follow these steps to connect your email account to the Jira Service Management service project:
- Navigate to the service project you want to connect and select Project settings.
- Click on Email requests, then hit Add an email address.
- If your email is hosted on Google or Microsoft, select the OAuth 2.0 integration from the dropdown menu.
- Choose the request type this email channel will support. Remember that Jira Service Management allows one email channel (email address) per request type.
- Enter the name of the folder where incoming emails are stored in your email account. The default is typically “inbox,” but if your email provider uses a different name for incoming emails (like “service requests”), make sure to specify that. Otherwise, Jira Service Management won’t be able to access those emails.
- Click Save, and Jira Service Management will redirect you to your email account, where you should see a success message.
Now, you need to check if the connection works.
Step 2: Verify that your email channel is linked
Once you’ve connected your email account to your service project, Jira Service Management will send you a test request to make sure the automated email-based Jira ticket creation works smoothly. Here’s what you need to do:
- Go back to your service project page and click on Queues.
- Look for the test request in the project queue.
If you see the test request, that means the connection was successful!
Step 3: Set up permissions for your customers
You'll need to set up customer permissions to let customers email your JSM service project. Jira Service Management gives you two options:
- Enable public signup. With this option, anyone who emails your service project will be automatically recognized as a customer by the system.
- Add customers manually. Click on Customers and then select Add customers. Make sure you’ve created the corresponding customer accounts first.
Step 4: Customize your email-to-ticket settings
After your integration is up and running, you can customize your settings for automatic Jira ticket creation from email. For example, by selecting Administration > Applications > (under Jira Service Management) Email requests, you can:
- Decide how replies should be managed when they come into Jira Service Management via email. You can choose to include the entire email thread or just the most recent reply.
- Choose how to display emails sent in HTML format.
- Decide whether replies should be added as comments to corresponding issue threads.
- Decide whether email senders should be automatically logged into the system and recognized as customers.
- Use allowlists and blocklists, as well as email filters, to sift out unwanted emails.
You can also manage your global email settings by going to Administration > System > (under Mail) Global Mail Settings. Here, you can choose between the Email Puller and Email Processor options. For more details about these settings and other configuration features in Jira Service Management, check out this page.
6 common email-to-Jira integration issues and how to fix them
If your email-to-Jira ticket automation isn’t working as it should, something was likely missed during the setup process.
Here are some of the most common issues you might encounter with the email-to-Jira Service Management integration, along with tips on how to resolve them.
Message: “This authentication method is deprecated; you should use OAuth 2.0 instead”
- Explanation and resolution: You might see this message when trying to access your Google or Microsoft account using only your username and password. To resolve this issue, enable OAuth 2.0 as the authentication method for that provider.
Message: “The email address you entered is currently used by another project's email channel”
- Explanation and resolution: You can’t use the same email address for more than one service project. Choose another address.
Problem: Customer requests don’t appear in a service project queue
- Explanation and resolution: There might be several reasons for this problem. To identify the cause, try the following:
- Check the email connection: Administration > Applications > (under Jira Service Management) Email requests > Test
- Check if the customer has permission to send requests
- Make sure the Summary and Description fields are visible for this request type
- Make sure the Email puller is enabled
Problem: Requests are created from Gmail’s archived messages
- Explanation and resolution: If you are using POP3 protocol for your Gmail channel, Jira Service Management cannot differentiate between archived messages and those in the inbox. To fix the issue, switch to the IMAP protocol.
Message (from Gmail or Yahoo!): “Unfortunately, Jira couldn't connect to the mail server…”
- Explanation and resolution: You might get this message when trying to connect to your Gmail or Yahoo! account. Don’t worry! To fix this, you just need to create an application-specific password.
Message (from Microsoft Outlook): “...STAT command failed: Exceeded the login limit for a 15-minute period. Reduce the frequency of requests to the POP3 server”
- Explanation and resolution: Since Jira Service Management checks the inbox for new messages every minute, Microsoft Outlook might flag this as suspicious activity. To resolve this issue, switch to the IMAP server.
This list doesn’t cover every possible issue you might run into while setting up or using the email-to-Jira Service Management integration. Feel free to check out this page if you’d like to explore other potential issues and more detailed guidelines on their resolution.
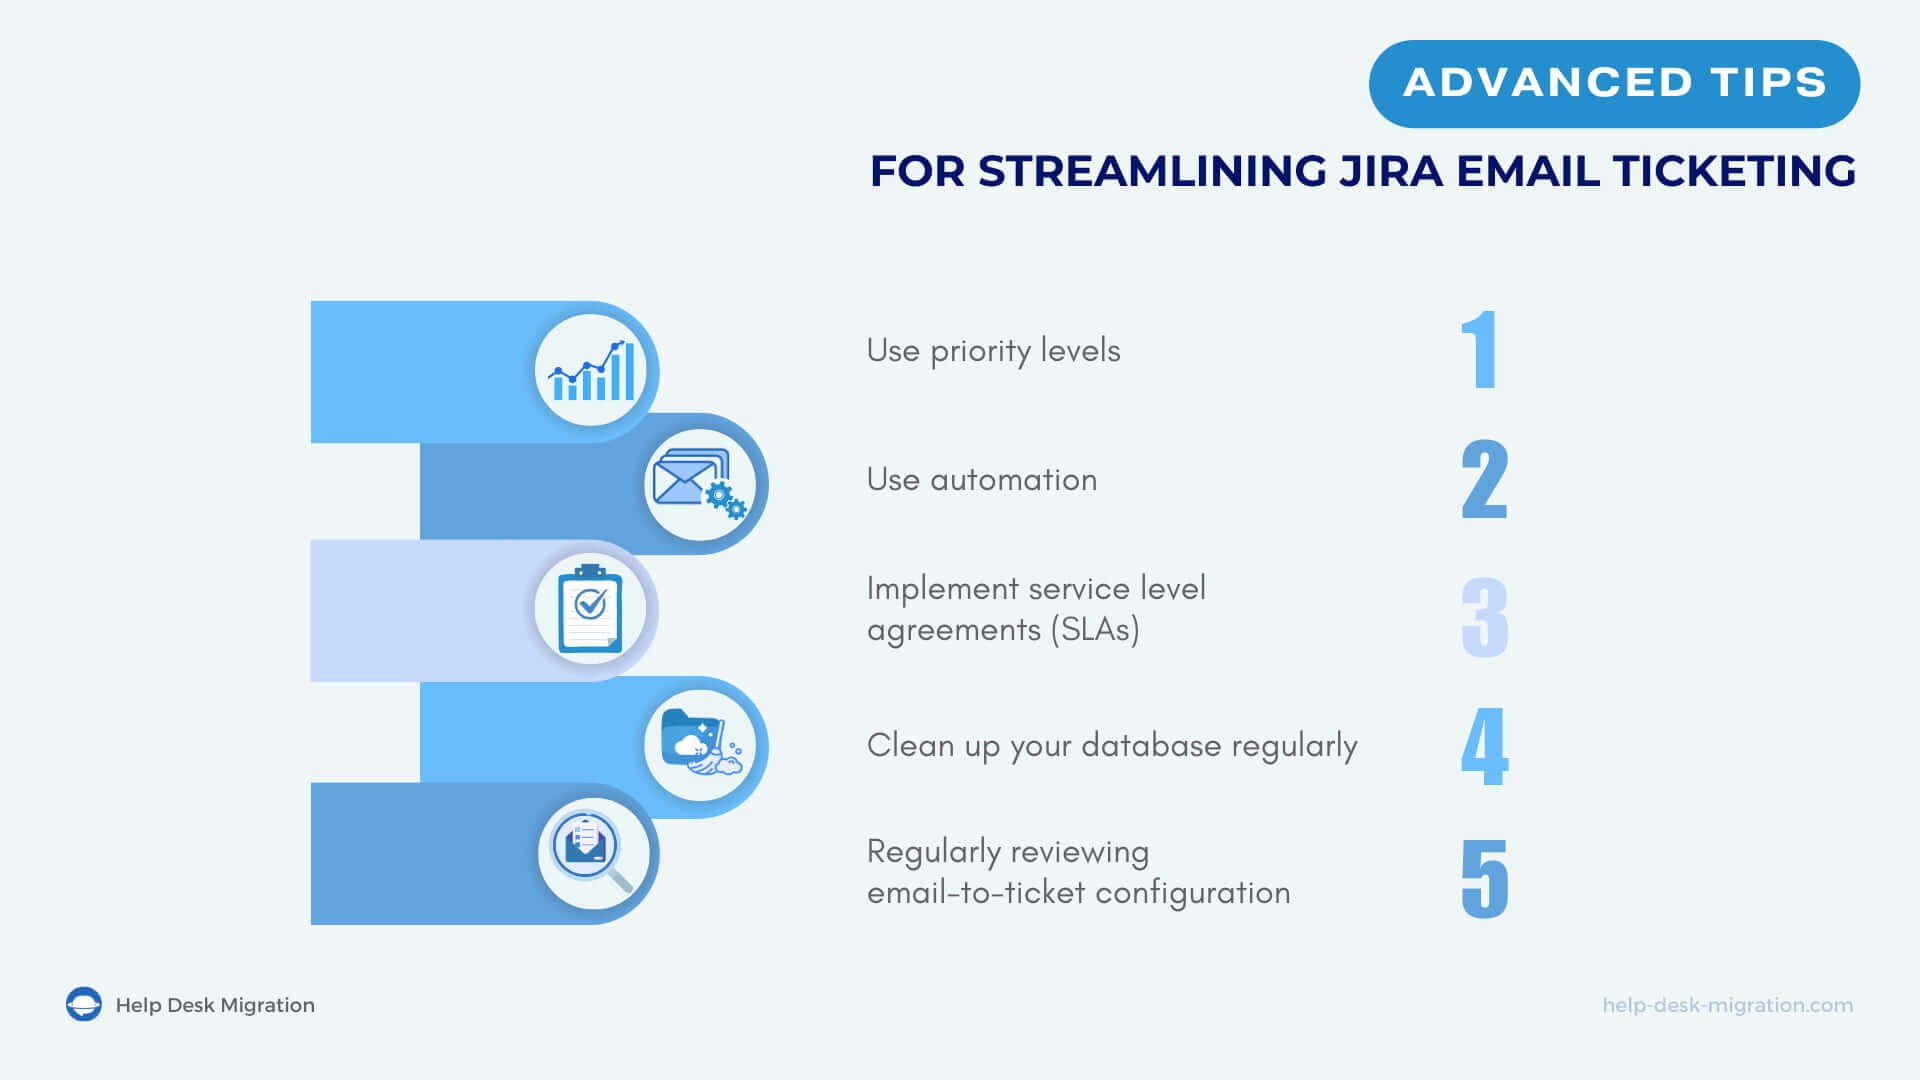
Advanced tips for streamlining Jira email ticketing
Setting up your email-to-Jira connection correctly is essential for receiving emails directly on the platform. However, that’s just the starting point. The following tips will help you keep things running smoothly and make the most of your service desk’s email management features.

Use priority levels
In Jira Service Management, you can easily prioritize any issue that comes in via email. The priority level shows how serious this or that issue is, helping your team focus on the most pressing problems first.
When customers submit issues, each one is automatically assigned a medium-level priority. However, you can adjust the priority level at any time by filling out the Impact and Urgency fields in the ticket. You can do this manually or set up automation to handle it for you.
Use automation
Jira Service Management offers powerful automation features that go beyond prioritizing tickets. You can automatically assign issues to agents, close old support tickets, and reopen tickets if clients reply in the same email thread.
By taking advantage of Jira’s automation capabilities, you can eliminate repetitive tasks for your team. This will allow them to focus on more important work, minimize the risk of errors, and speed up issue resolution.
Implement service level agreements (SLAs)
Set up SLAs for different types of requests to outline expected response and resolution times. This will not only show everyone what to expect but also ensure that issues are handled consistently and promptly.
Clean up your database regularly
Use a database cleaner to automatically remove old emails from the system after a set period (e.g., 45 days). This will keep your email database tidy and make sure that your team only deals with relevant, up-to-date information.
Regularly reviewing email-to-ticket configuration
Like any software, Jira Service Management constantly evolves with new updates and upgrades. Sometimes, this means that the email-to-ticket configuration that worked perfectly one day might not perform as expected the next, or your support team may not be fully utilizing JSM’s email-based request management features. Plus, your support needs might change over time.
To keep things running smoothly, we highly recommend revisiting Jira’s email-to-ticket configuration. Take a moment to double-check that the mail handler is set up to create new tickets or add comments to existing ones based on the email content. Regularly review email processing patterns, send test emails to see how they’re handled, and encourage your team to share their feedback on the email handling process.
Recap
If email is one of your company’s preferred communication channels, don’t miss out on the email ticketing features in Jira Service Management. Email-to-Jira ticket automation will transform the way your team handles requests. You’ll no longer have to struggle with manually copying information from emails into support tickets, losing critical requests in a cluttered inbox, and keeping your customers waiting while your team sorts through the messages.
This guide will show you how easy it is to connect your email account to Jira Service Management and create Jira tickets from email. Thinking about switching to Jira Service Management? Rest assured— is just as hassle-free. All you need to do is use Help Desk Migration for a smooth transition.


