SherpaDesk Migration Guides
How to find your API key in SherpaDesk?
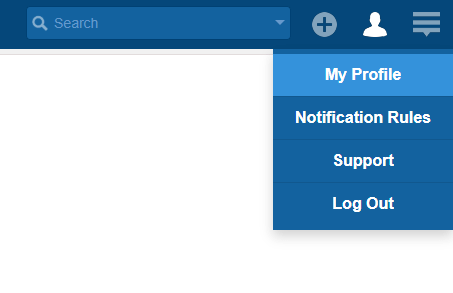
To set up your data migration using our Migration Wizard, you will need an API key. Log into your SherpaDesk account and click on My Profile.

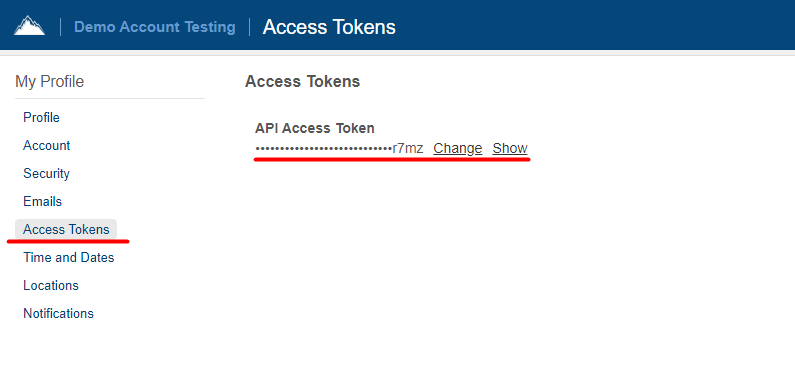
Then, select Access Tokens to see your API key.

Click Show to copy the API key. Go back to the Migration Wizard and continue your data migration.
How to enable knowledge base in SherpaDesk?
In order to import knowledge articles to SherpaDesk, you need to enable the knowledge base first. Here’s how to do it.
From your SherpaDesk, select Config.

From the settings, select Knowledge Base and switch the toggle to ON.

Click Save and you’re done! Now, you may begin your data migration.
How to view all tickets in SherpaDesk after the data migration?
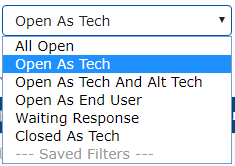
In SherpaDesk, you can only filter tickets according to their statuses if you use the standard ticket views available in the system.

Thus, only tickets with a certain status will be visible within one page. To view and check all existing tickets in your SherpaDesk, you will have to set up a new filter. This will enable viewing tickets with any status within one page. Here’s how to do it:
1. Go to the Tickets section.

2. Click on the blue arrow in the top left corner to open the Filter View settings.

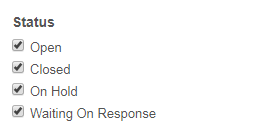
3. Scroll down to the Status section and select all the boxes.

4. Then, scroll to the very bottom of the sidebar and click Apply Filter.
