ConnectWise Migration Guides
ConnectWise Migration: Board Types, Board SubTypes, Board Items transfer by default
The Help Desk Migration team recently added the ConnectWise Board Types, Board SubTypes, and Board Items to a default migration workflow. So you can map these data entities and get them to your service desk easily.
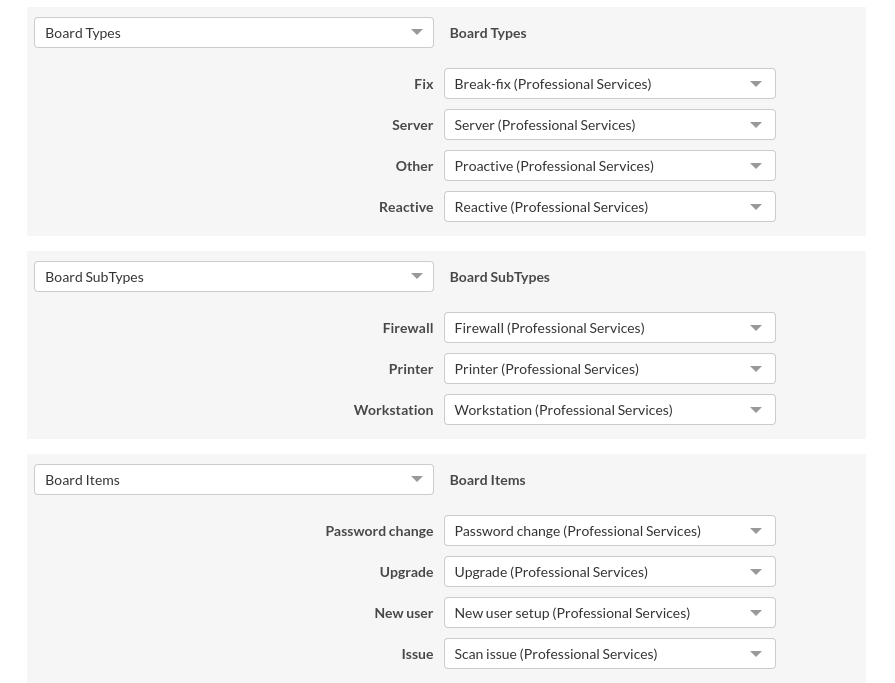
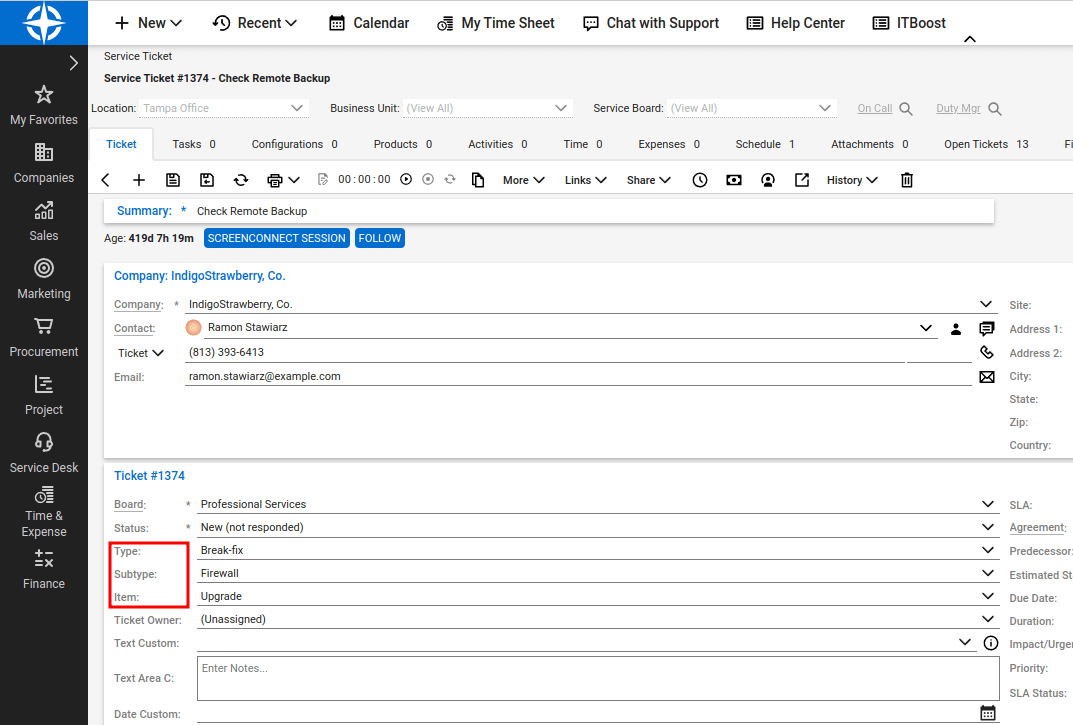
| Concept | Description |
| Board Types | Primary categories or classifications within ConnectWise Boards. They classify and group related boards. Examples: "Development," "Support," "Sales," or "Marketing." |
| Board SubTypes | Subcategories within each Board Type further refine the classification of boards. They add specificity and granularity to board categorization. Examples: "Front-end Development," "Back-end Development," or "UI/UX Design" within "Development" Board Type. |
| Board Items | Board Items are the essential units that encapsulate the work within each board. They correspond to specific tasks, issues, or project requirements. These items can be assigned to team members and possess due dates, descriptions, and files while enabling progress tracking. They seamlessly transition across various stages or columns on the board. |
How do you generate ConnectWise API keys?
To generate ConnectWise API keys, follow these steps:
1. Go to your ConnectWise account and navigate to "My Account."
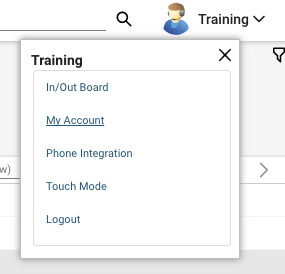
2. Once in your account settings, locate the "API Keys" tab.
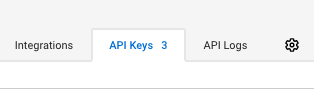
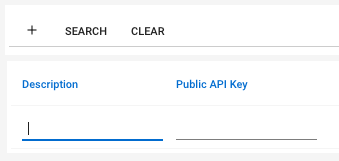
3. In the "API Keys" tab, use the "+" icon to create a new API key.
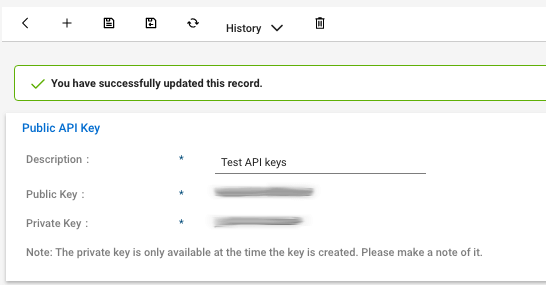
4. After saving, you will see both the Public and Private keys generated for the API key you just created. Copy and save both the Public and Private keys in a secure location, as they will only be available at the time of creation.
How to check the result of Demo Migration in ConnectWise?
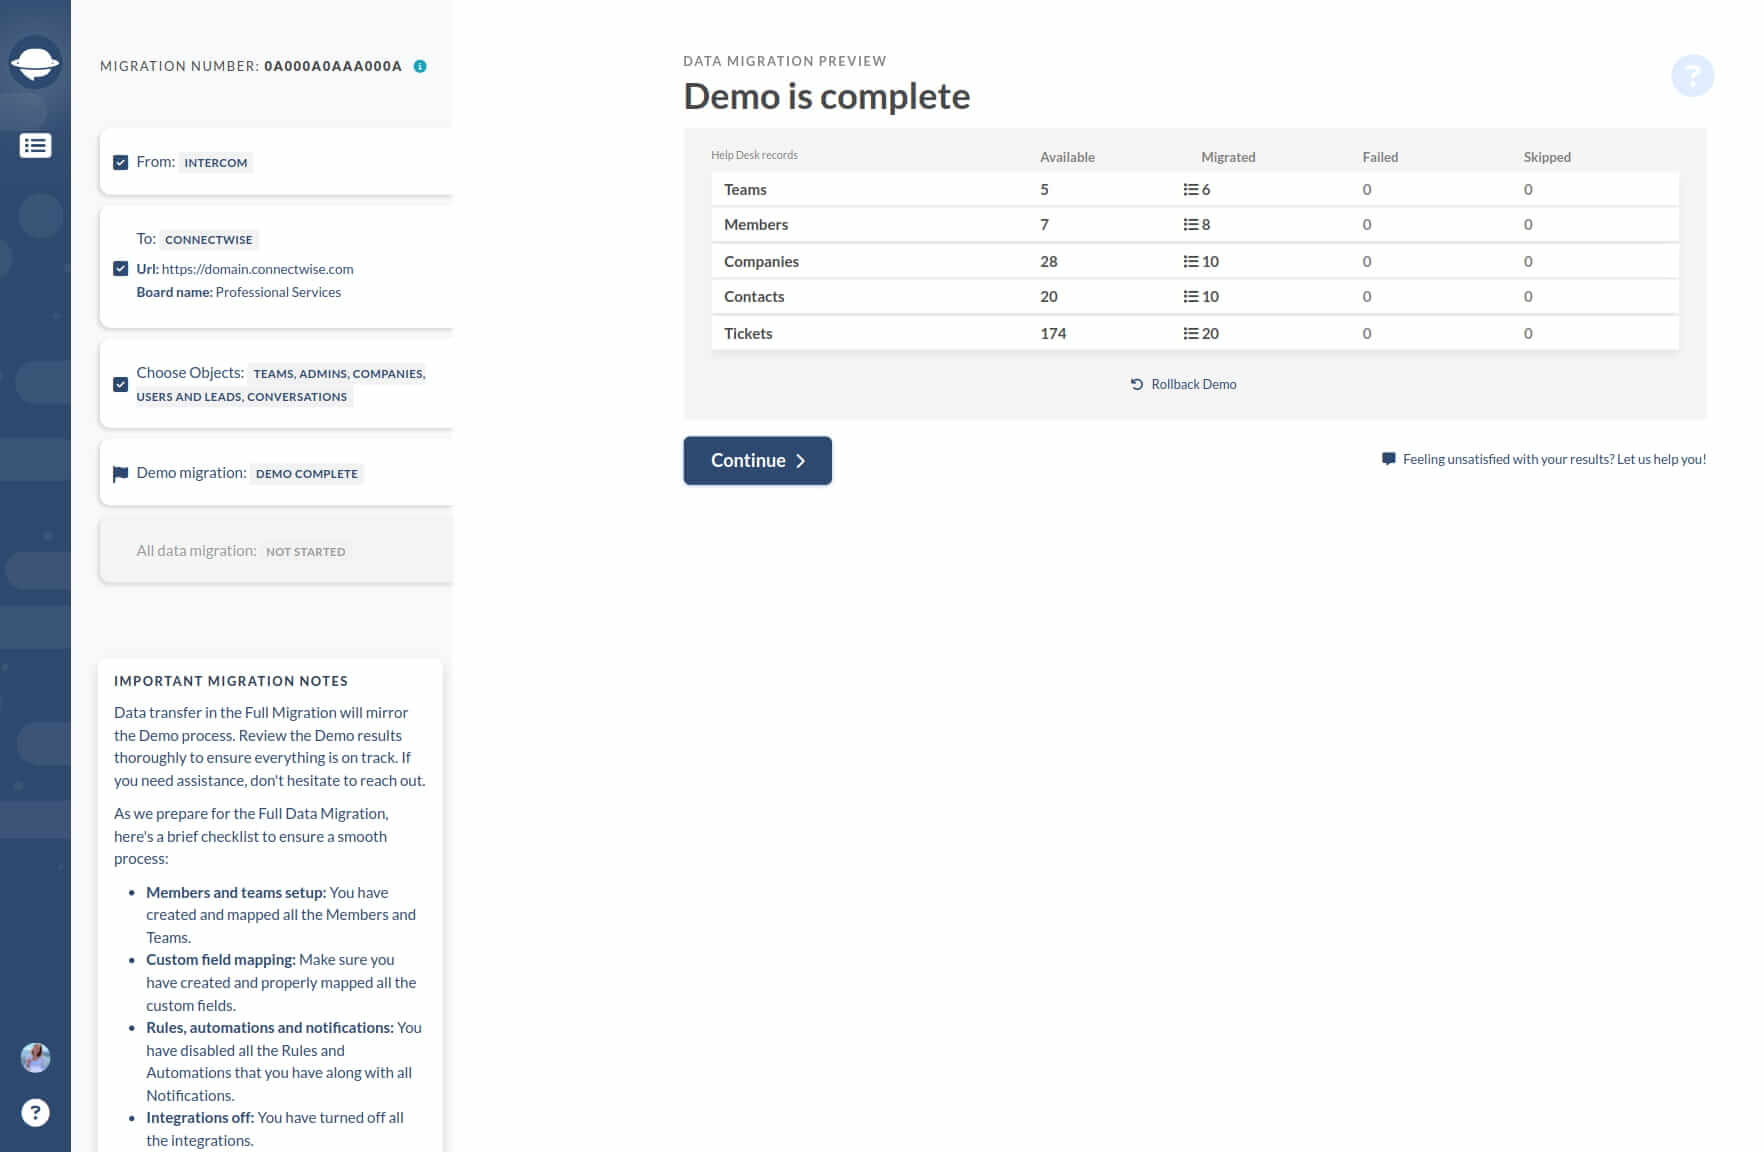
After completing the Demo, the Migration Wizard provides a concise summary table detailing the number of transitioned records, including reports for each record type: migrated, failed, or skipped data. Reports include the IDs of transferred entities for easy reference.
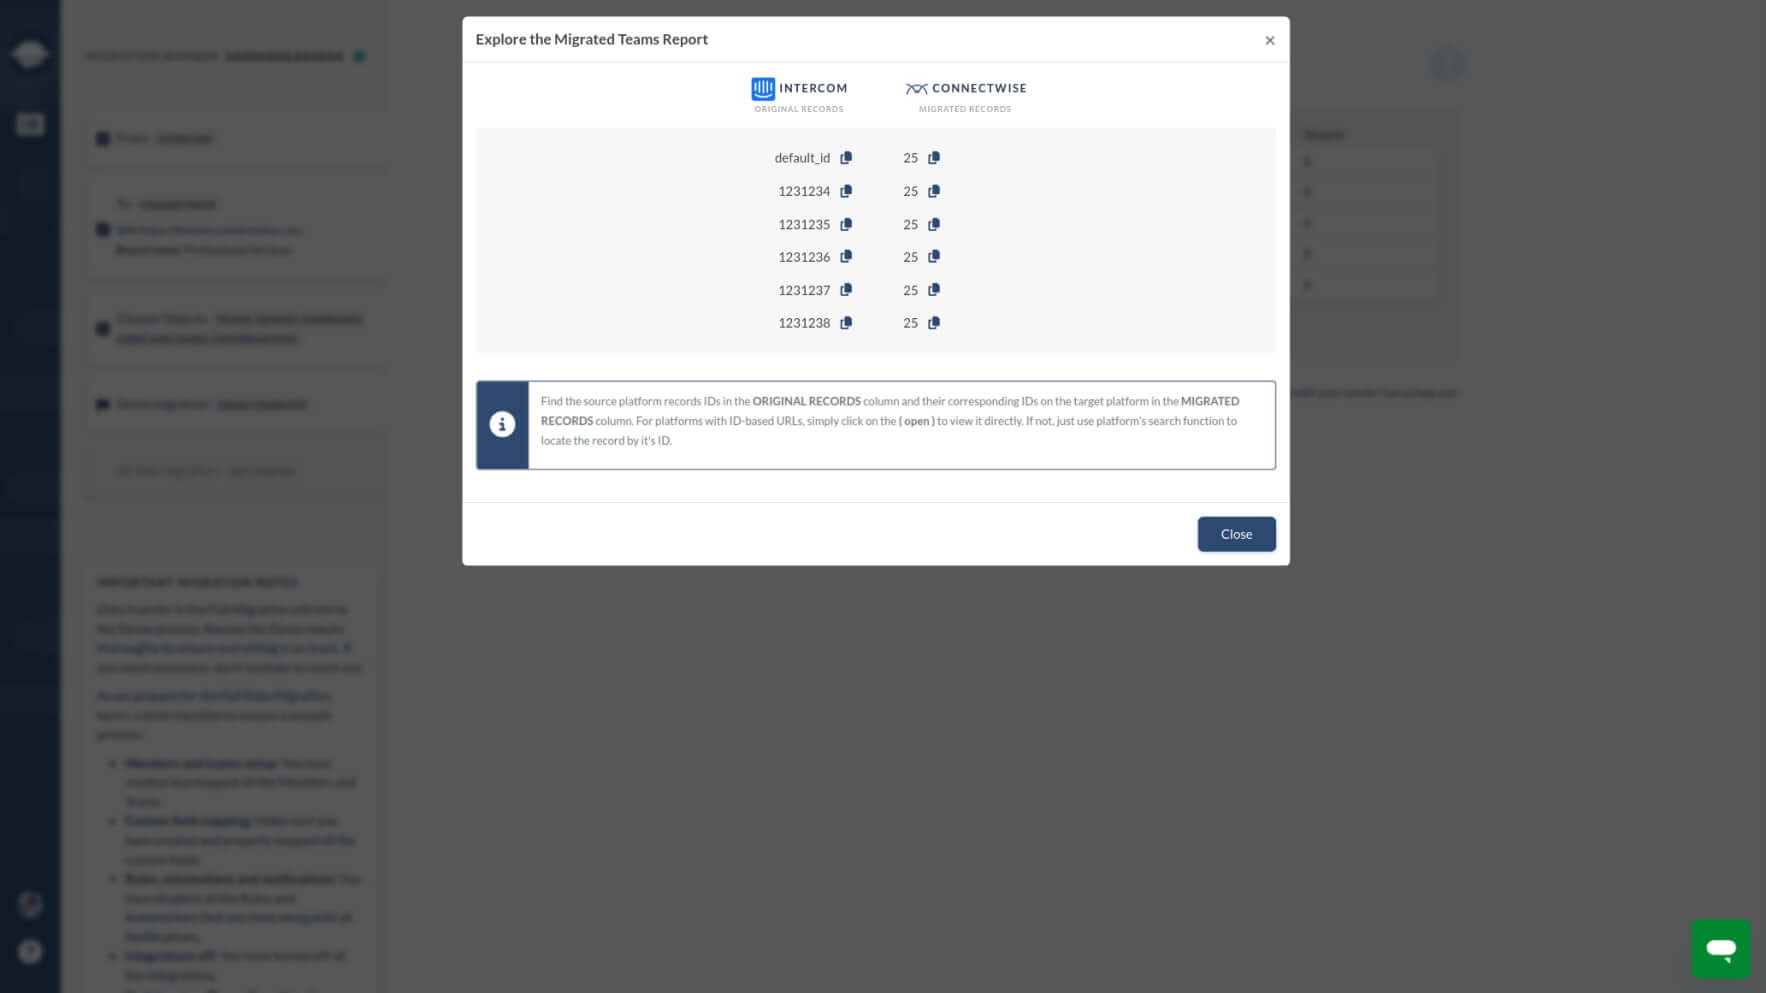
Click the "View records" button to access a list of record IDs from both the source platform and ConnectWise, facilitating record verification.
All ticket and related data migrate uniformly during both Demo and Full Data Migrations. Any data not successfully migrated during the Demo phase will not be included in the Full Migration.
During the migration to ConnectWise, ensure migrated comments align with their respective authors, along with Custom Fields, Customers, Companies, and Attachments.
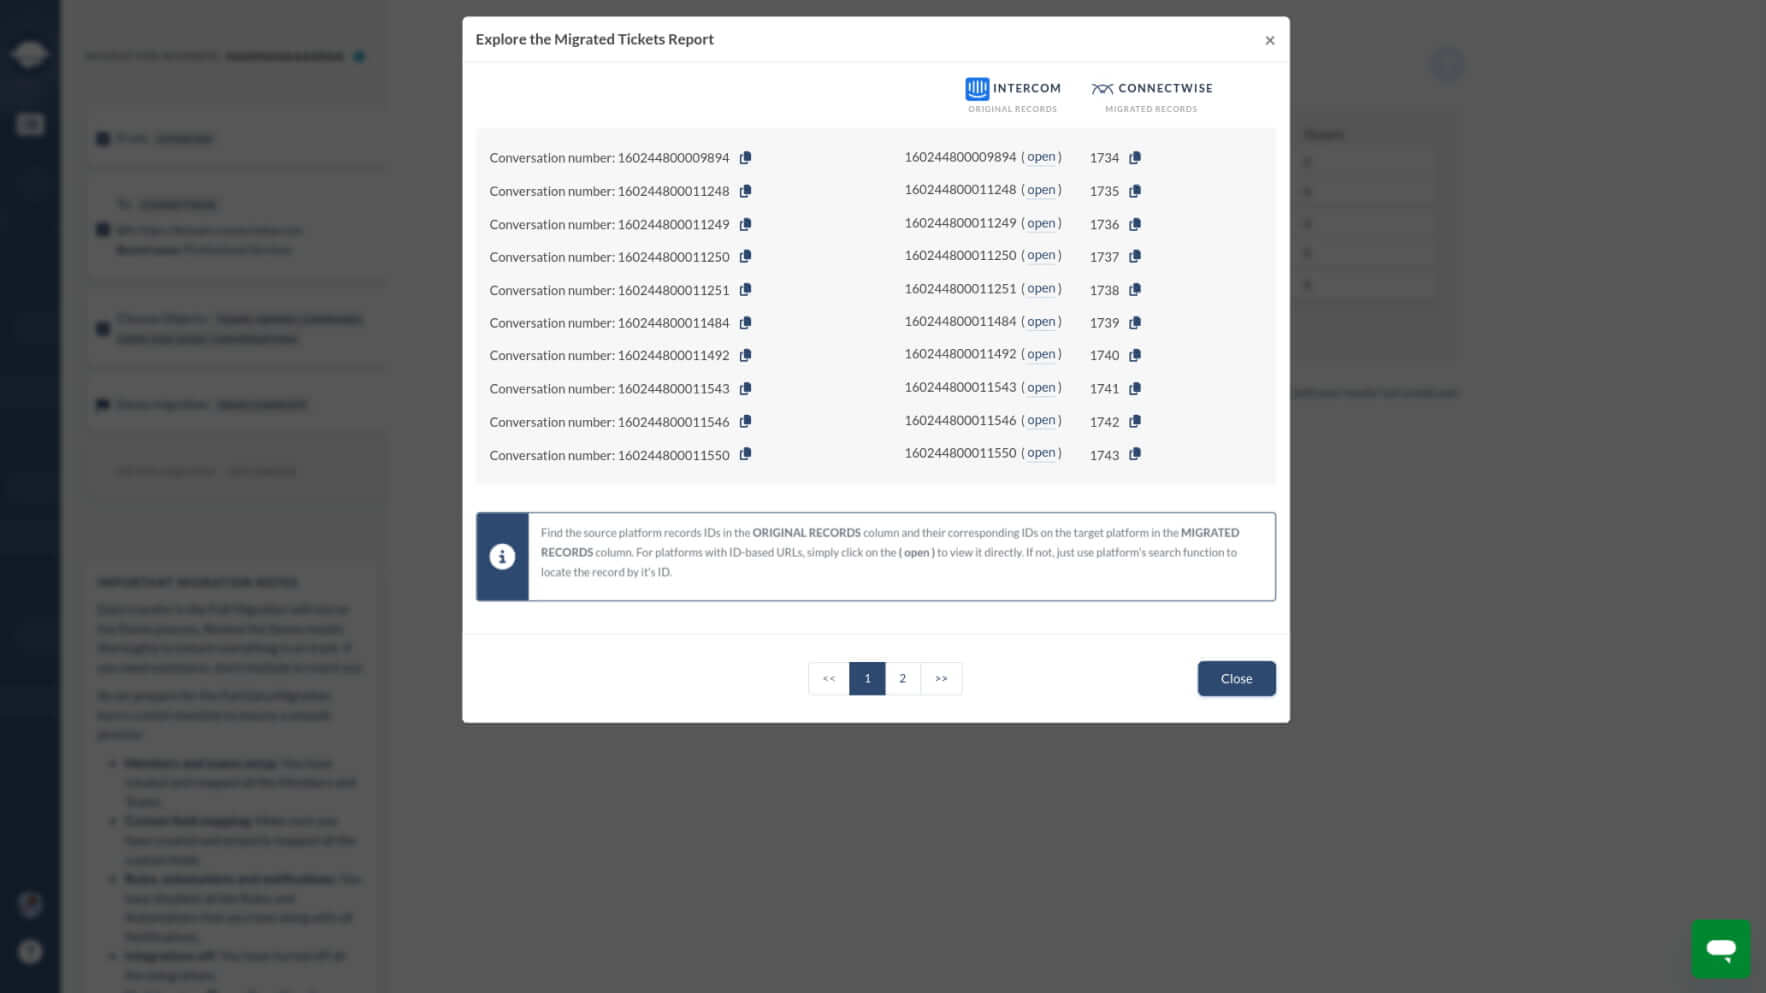
Similar "Migration Results" reports will be generated after the Full Data Migration. Conduct a thorough inspection to confirm the integrity of the data.
How to search tickets in ConnectWise Manage?
To efficiently search for tickets in ConnectWise Manage post-migration, follow these steps:
1. Go to 'Service Desk' → 'Service Ticket Search'.

2. On the 'Service ticket search' page, select 'Service ticket' in the 'Ticket type' field, then click the 'Search' button.

3. All tickets, including closed and resolved ones, will be displayed.

4. Navigate through the pages to view all tickets.


