Zammad Migration Guides
How to create an Access Token in Zammad?
To create an Access Token in Zammad, follow these steps:
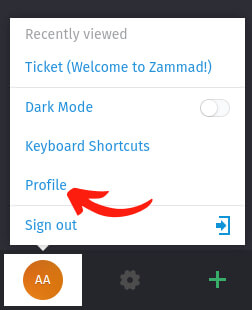
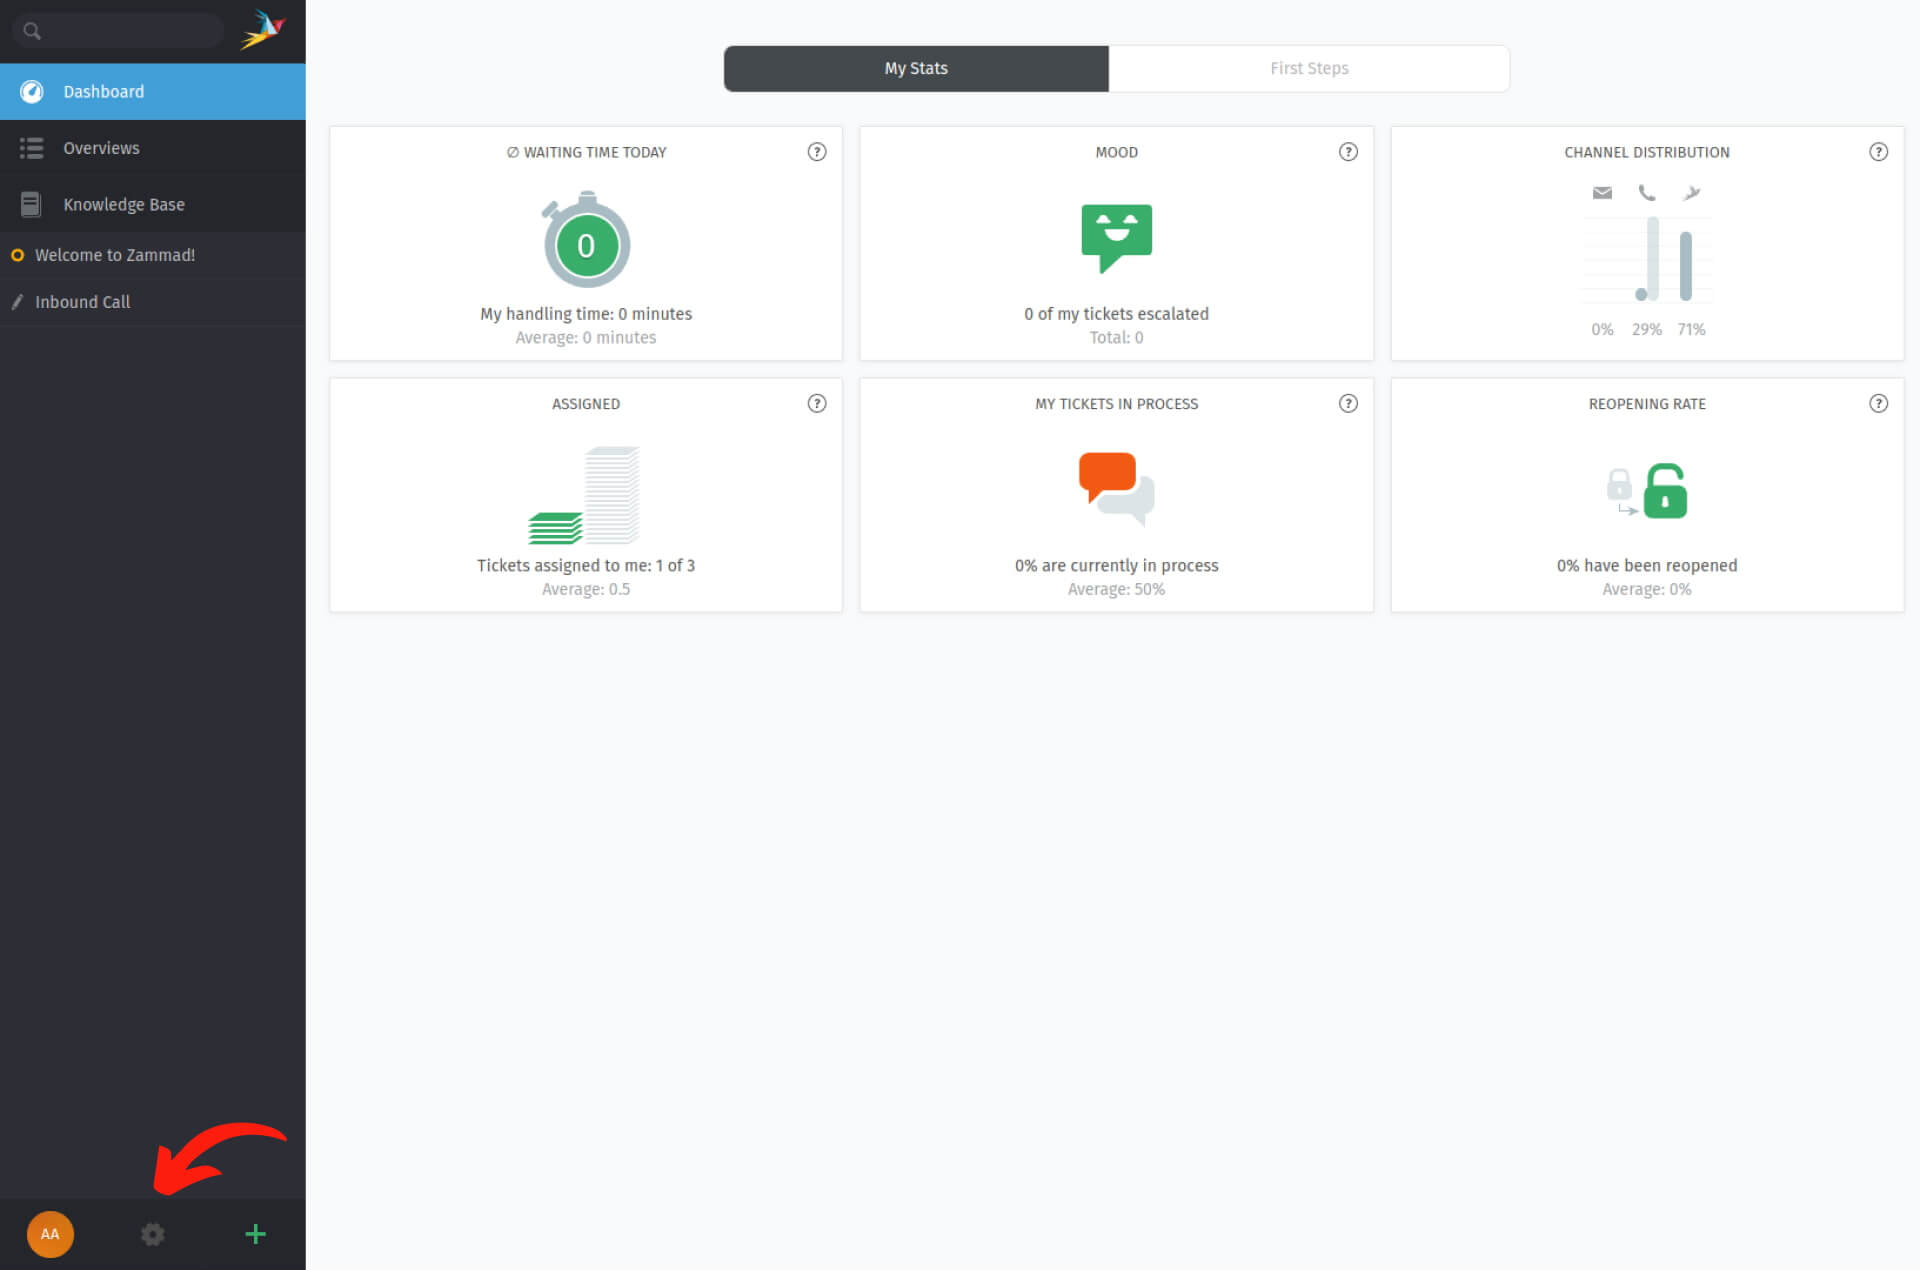
1. Click the Profile icon located in the bottom-left corner.
![]()
2. Select Profile from the dropdown menu.
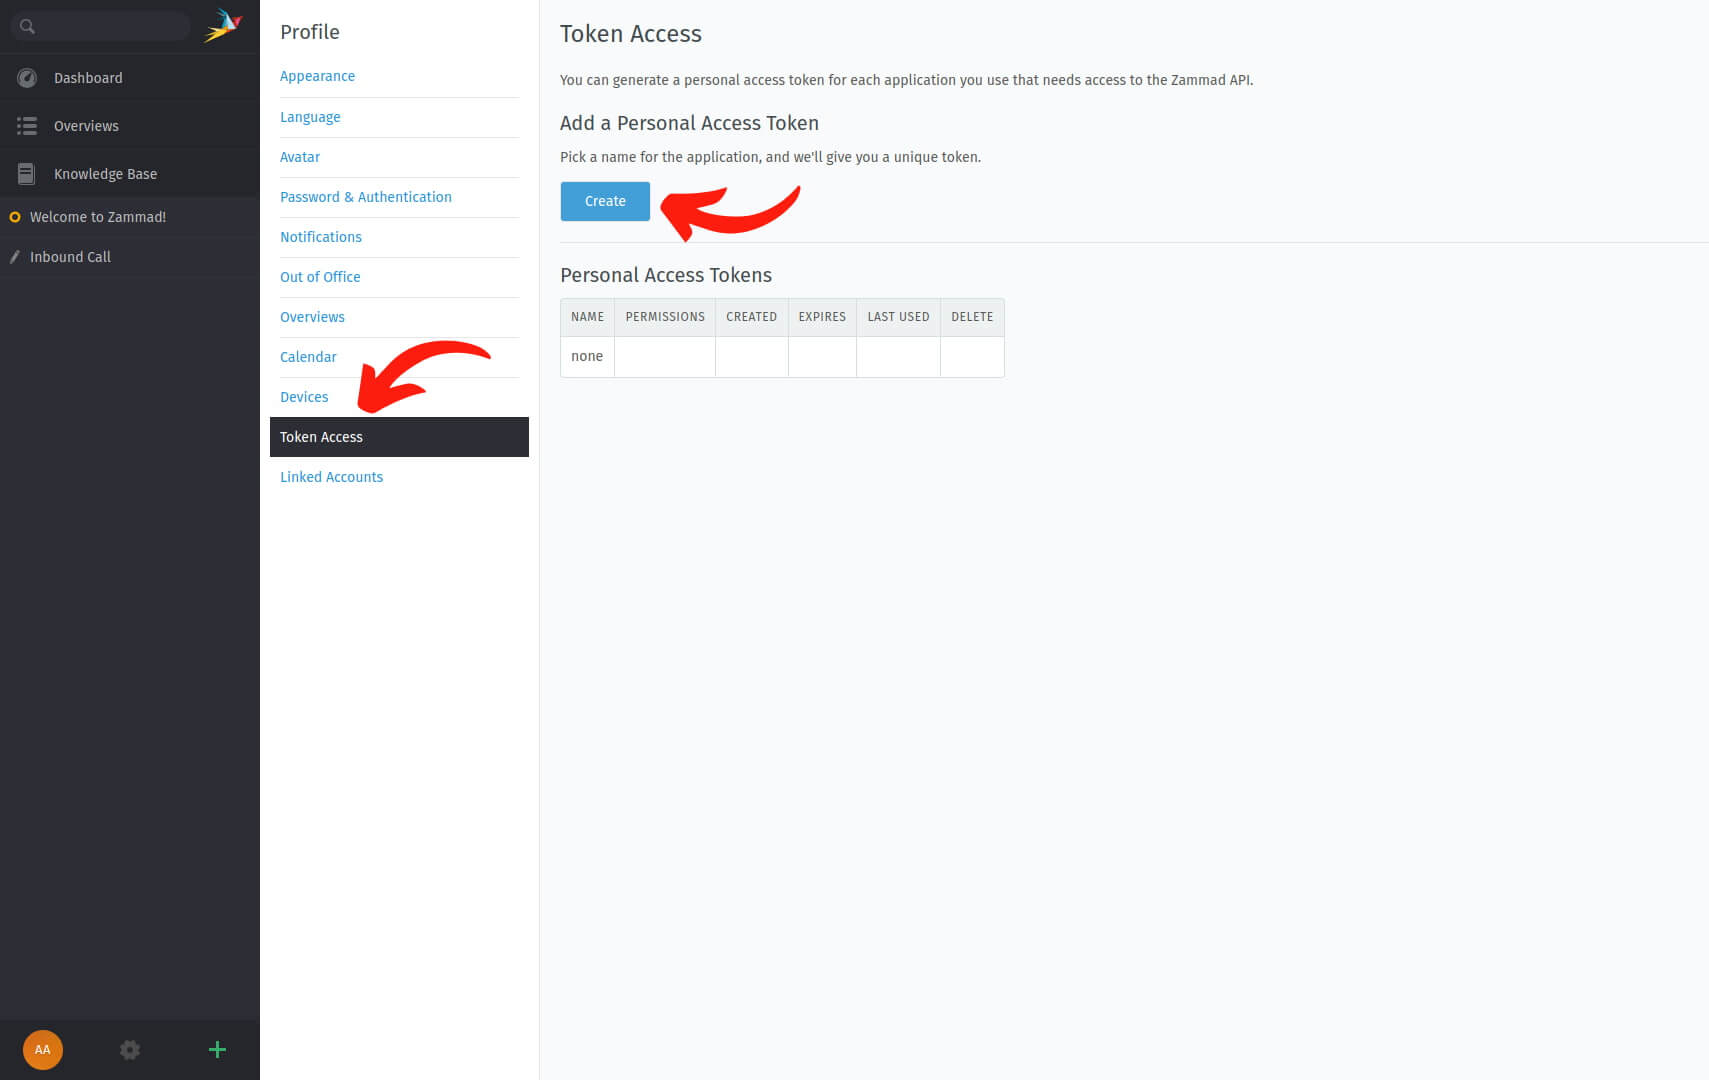
3. In the Profile sidebar, switch to the Token Access tab to proceed.
4. Click the Create button to add a Personal Access Token.
5. Enter a name for your token, expiration date (if needed), and check the following necessary permissions:
- Admin interface (admin)
- Knowledge Base Editor (knowledge_base.editor)
- Knowledge Base Reader (knowledge_base.reader)
- Agent tickets (ticket.agent)
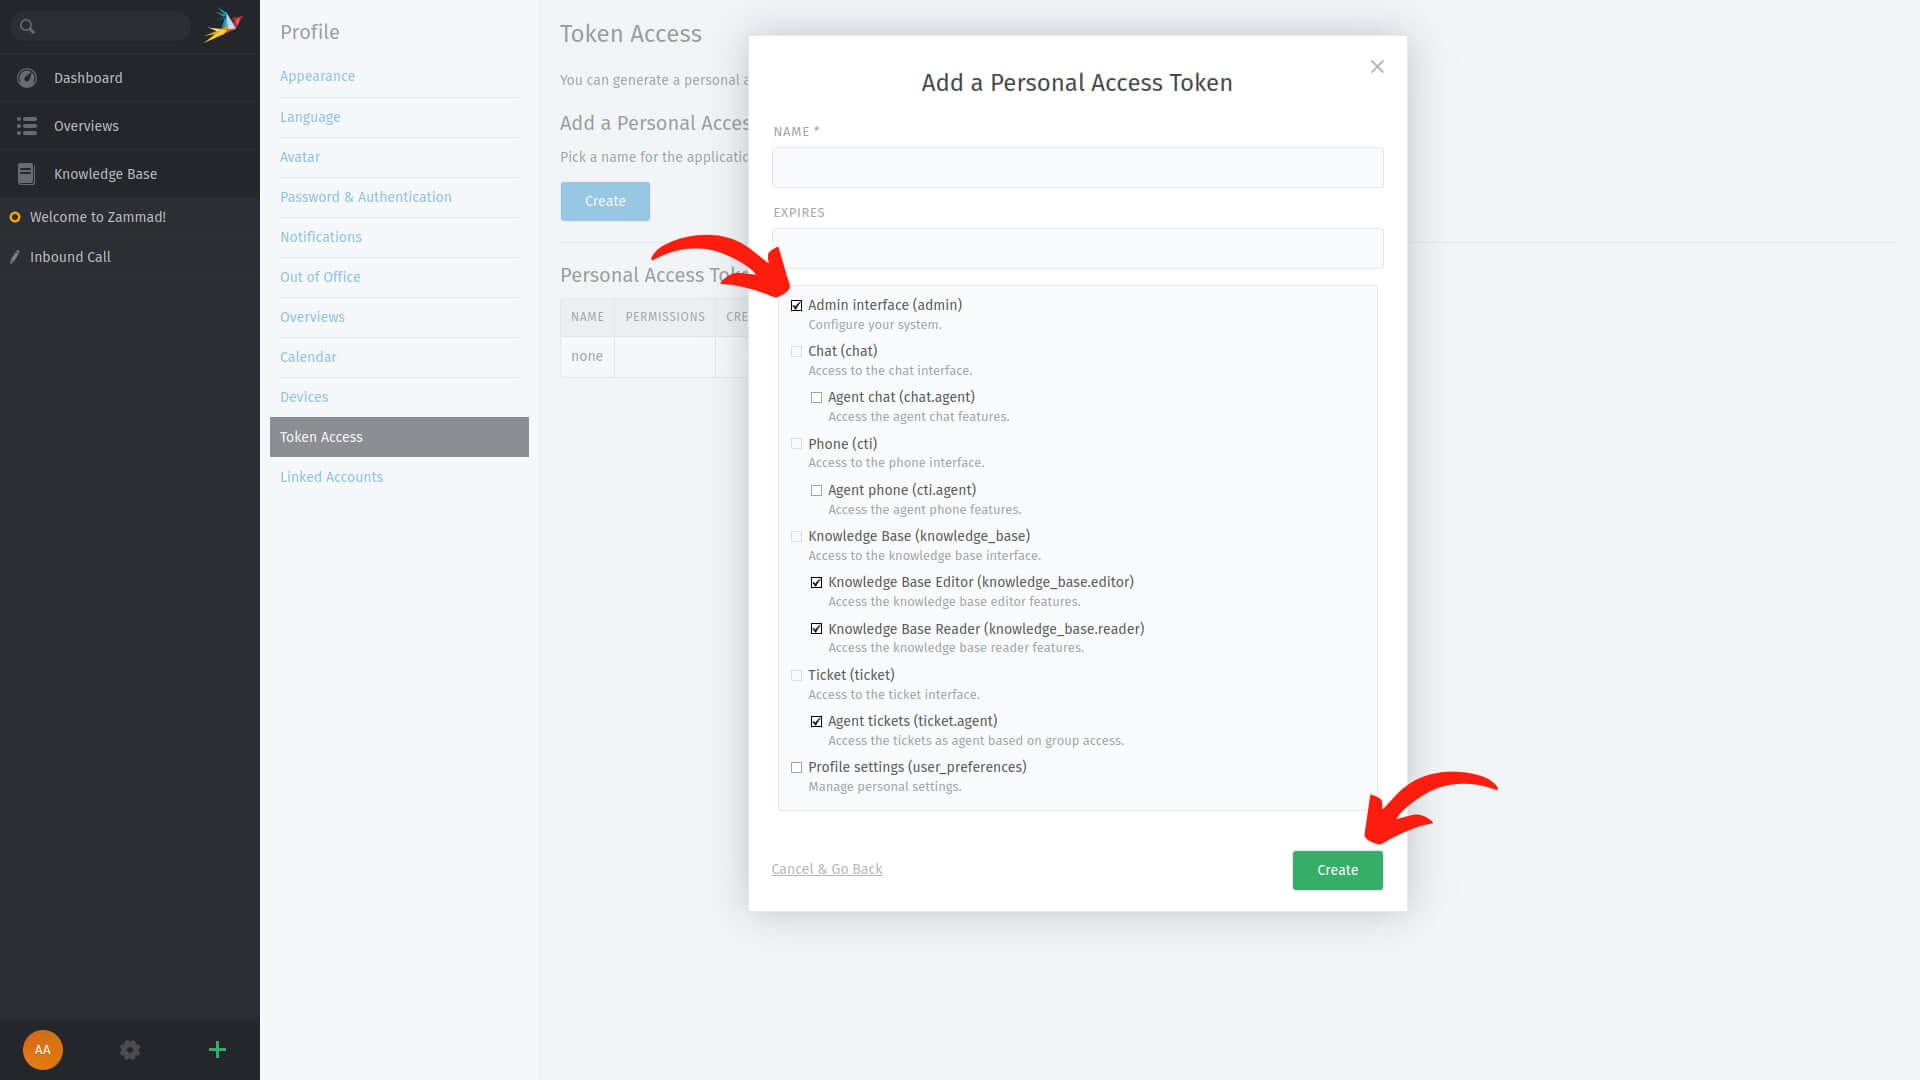
6. After assigning permissions, confirm by clicking the Create button.
7. Copy the Access Token value displayed on the screen.
How to deactivate notifications in Zammad?
During Zammad data migration, it's essential to disable all notifications to ensure agents don't receive alerts during the ticket import process.
To turn off notifications in Zammad, follow these simple steps:
1. Click the Profile icon located in the bottom-left corner.
![]()
2. Select Profile from the dropdown menu.

3. Switch to the Notifications tab.
4. Locate the Also notify via email column and disable all notification options by unchecking the boxes.
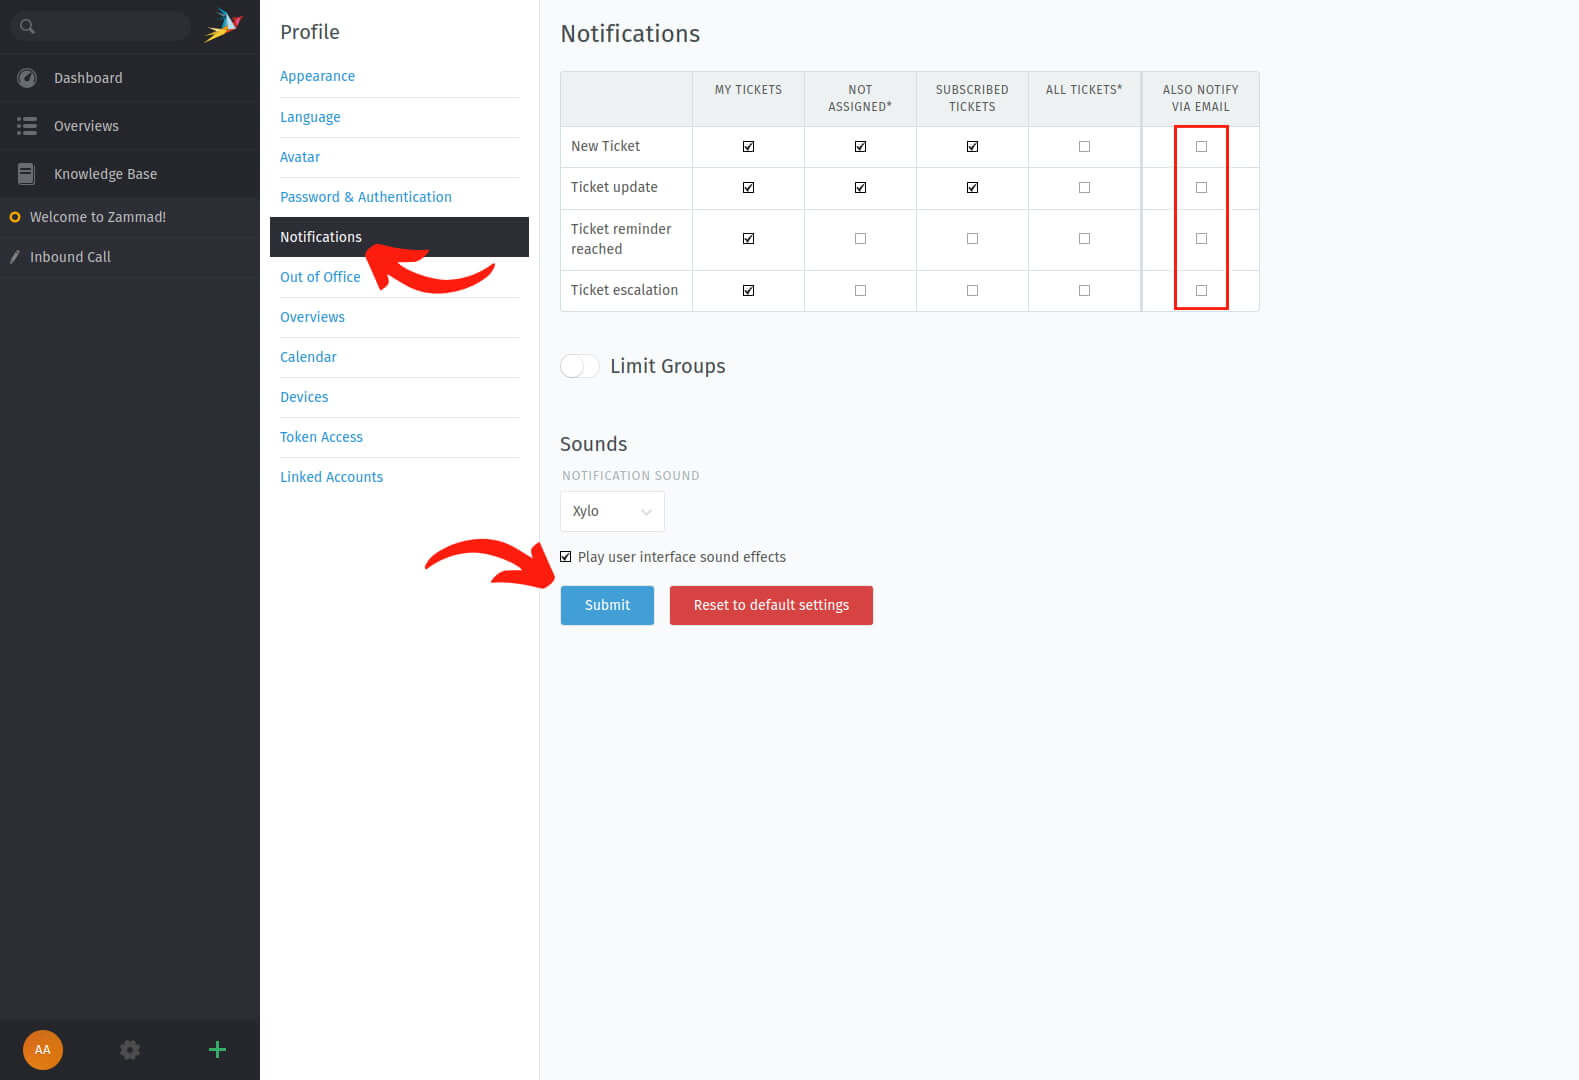
5. Click the Submit button to save your changes.
How to enable import mode in Zammad?
Before migrating data to Zammad, it’s crucial to enable import mode. Without it, dates won’t migrate properly, and notifications may be sent unless manually disabled in the agent profile.
Follow the instructions below based on your Zammad account type to activate import mode.
1. Zammad SaaS accounts
- Trial accounts:
- Paid accounts:
If you are using a trial version of Zammad, you will need to contact Zammad support to activate the import mod. Email enjoy@zammad.com and request that they enable the mod for you.
For paid Zammad accounts, the process is similar. Contact Zammad support by emailing support@zammad.com, and they will activate the import mod.
2. Zammad on-premise accounts
If you use a Zammad self-hosted instance, you need to enable the import mod yourself. To do so, access Zammad’s Rails Console and run the following command:
If you run into any problems or need assistance, contact our support representatives, and they’ll be happy to guide you through the process.
How can I migrate the knowledge base to Zammad?
The Help Desk Migration service offers an easy way to import your knowledge base articles to Zammad. Before starting the migration process, you need to ensure that a knowledge base exists in your Zammad account.
If you haven't created one yet, follow these steps:
1. Navigate to Admin settings (the gear icon ⚙️).
2. Select the Knowledge Base tab.
3. Use the toggle button to enable the Knowledge Base.
4. Choose the languages/locales where you want to publish the knowledge base. Here, you can also configure additional settings and select a theme, unify the knowledge base with the website's main navigation, or set up a custom URL.
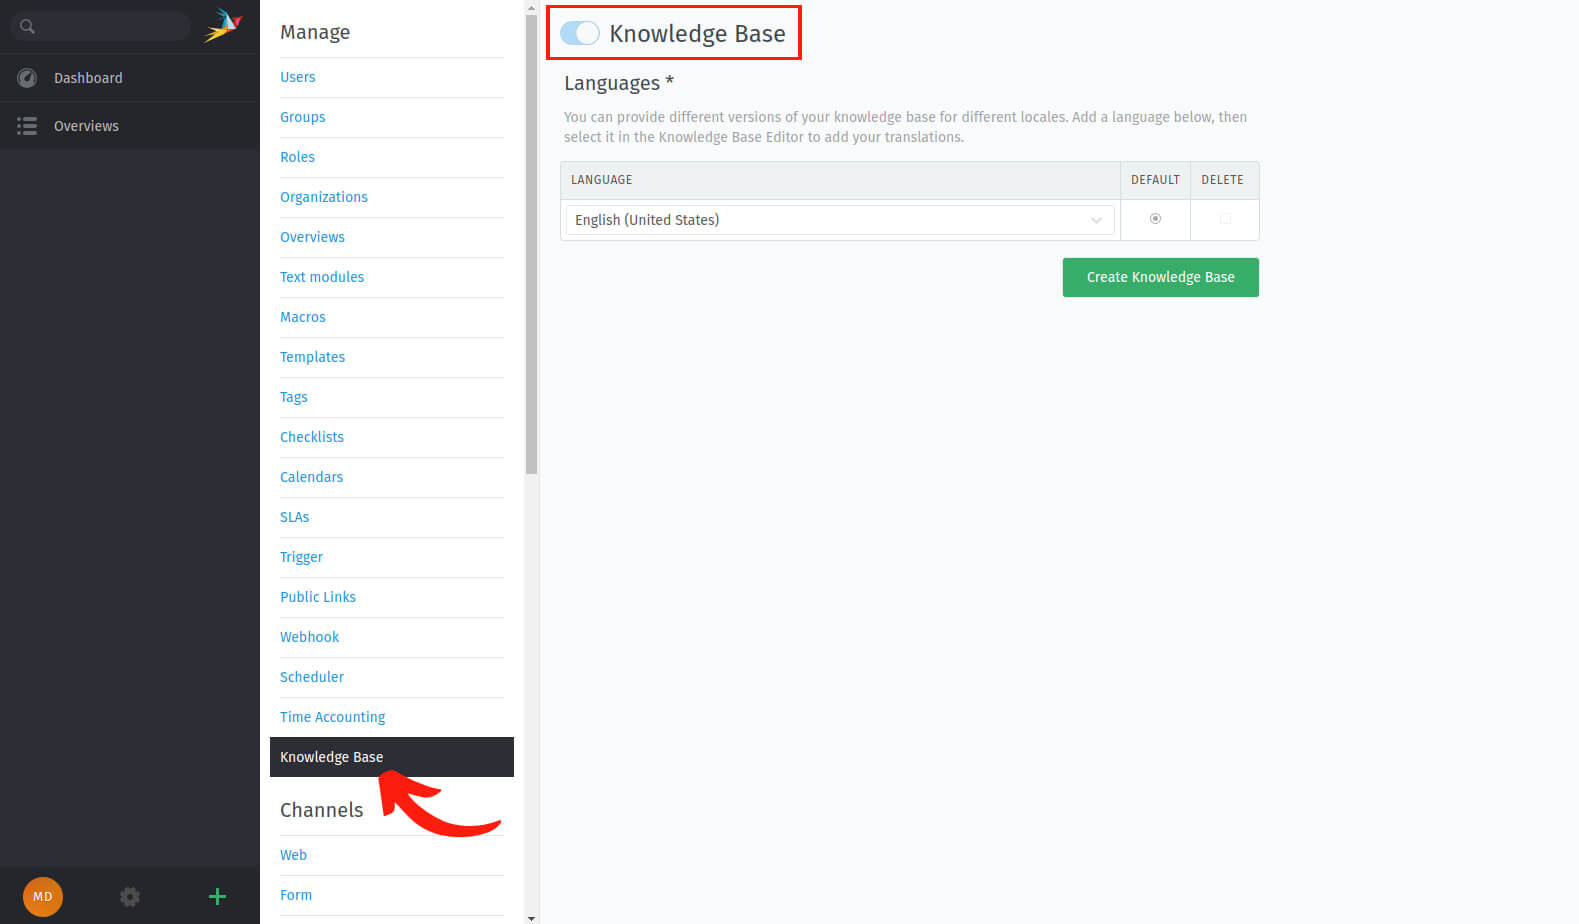
5. After configuring your knowledge base settings, click the Create Knowledge Base button.
Once your knowledge base is created, you can proceed with importing articles.