Re:amaze Migration Guides
How to find your API token in Re:amaze?
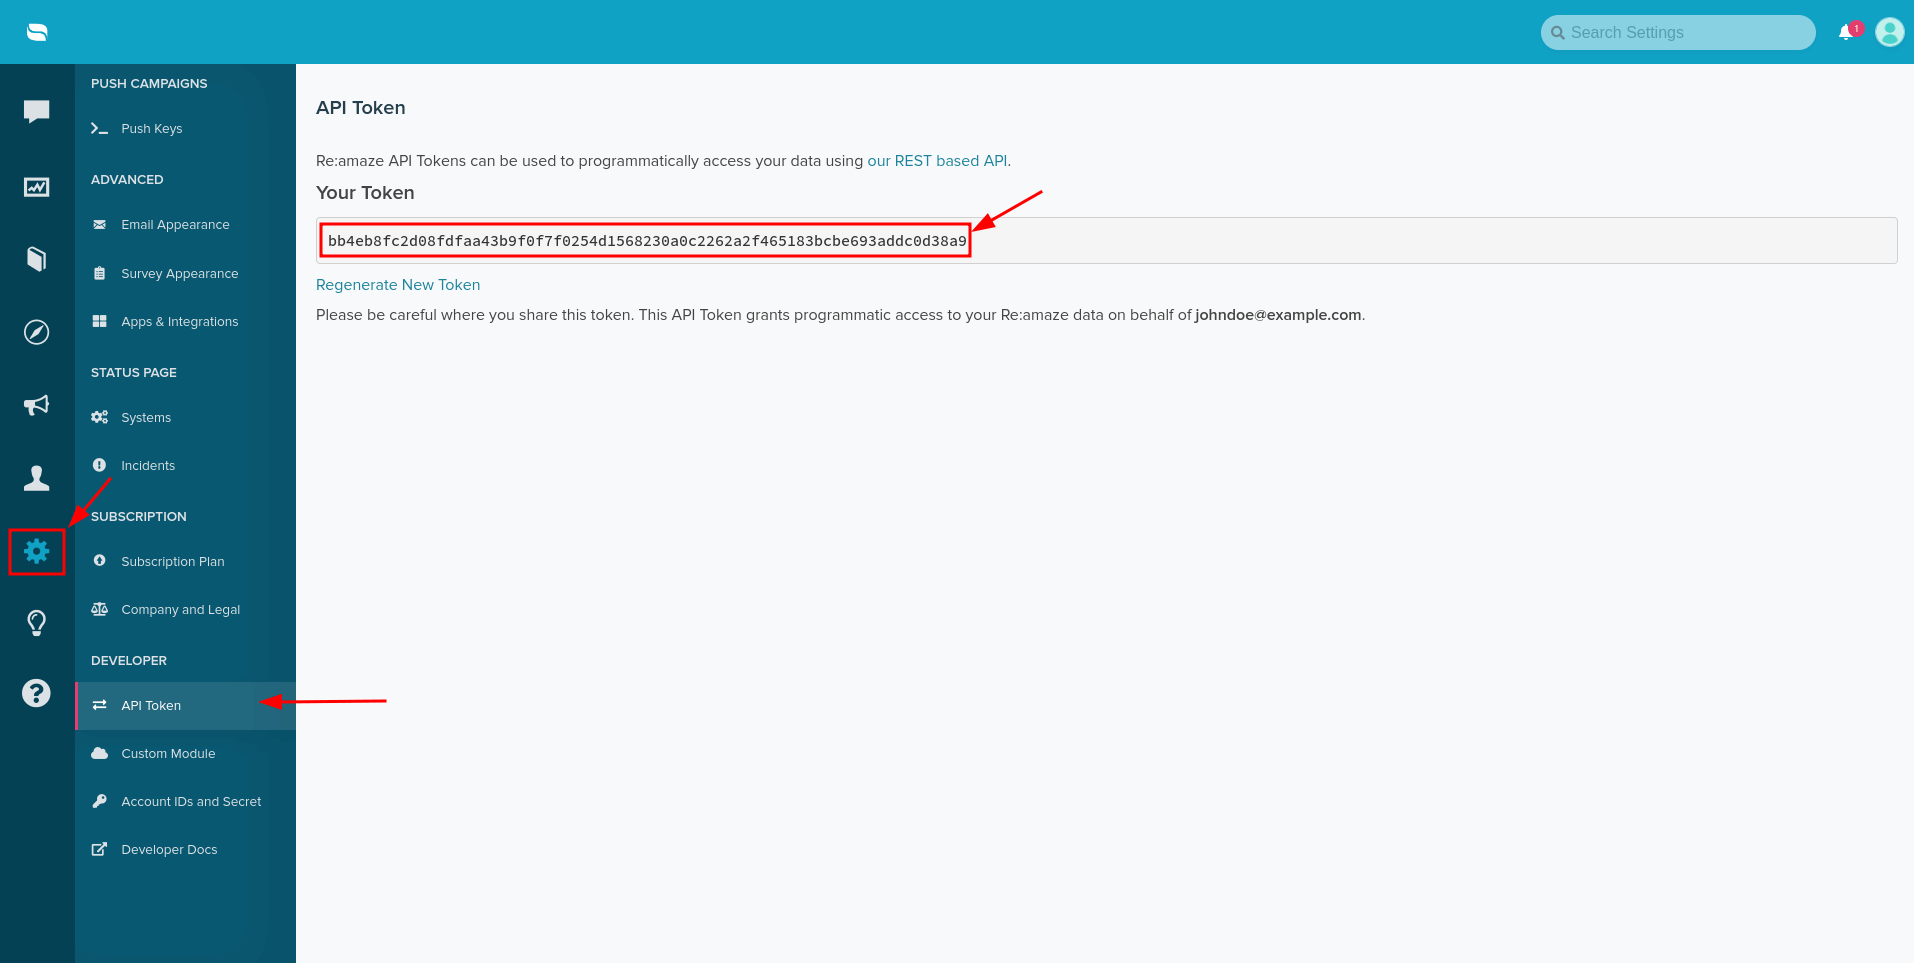
1. Log into your Re:amaze account.
2. Go to Settings.
3. Scroll to the very bottom of the list and under DEVELOPER find API token:

4. From there, copy your API token and continue your migration.
How to check the result of demo migration for Re:amaze?
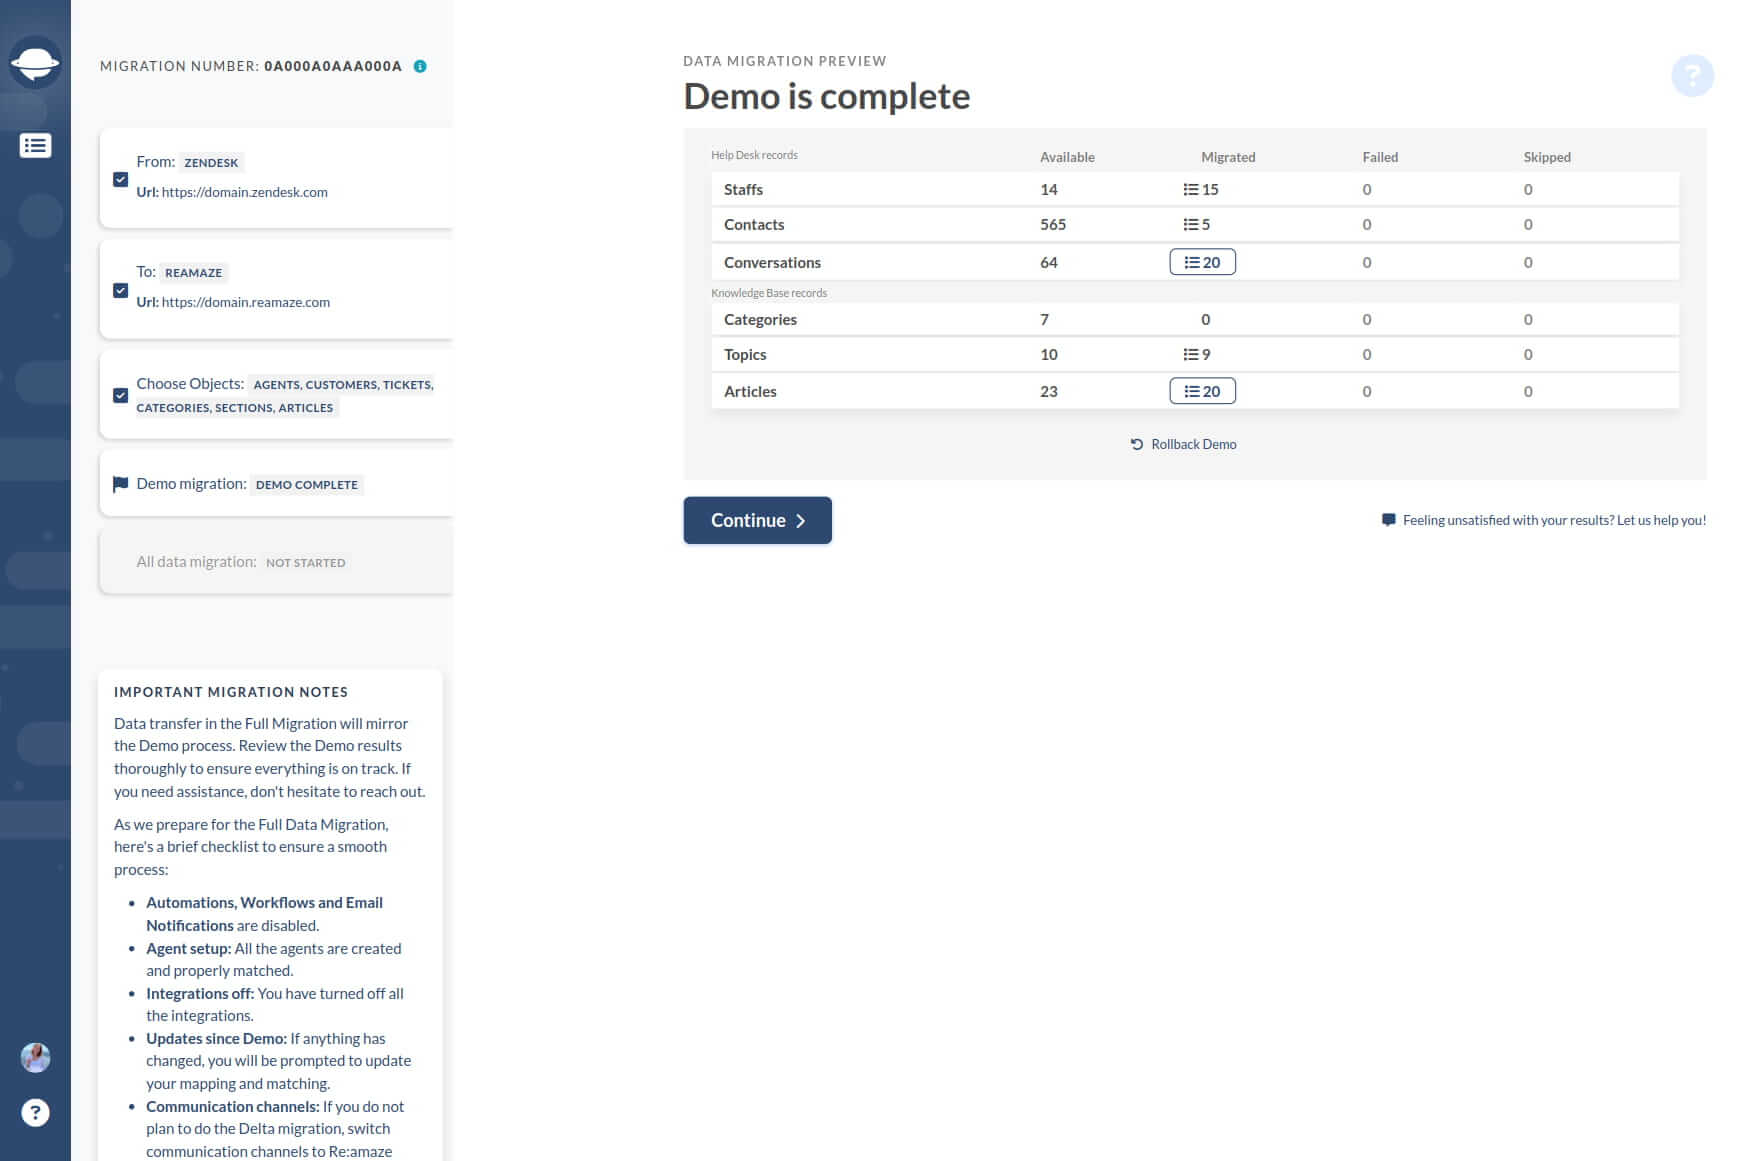
After the Demo Migration is completed for Re:amaze, you can check the results by following these steps:
1. Once the Demo Migration finishes, you'll see a summary table displaying the number of imported records to Re:amaze. This table will also include reports for migrated, failed, and skipped data.
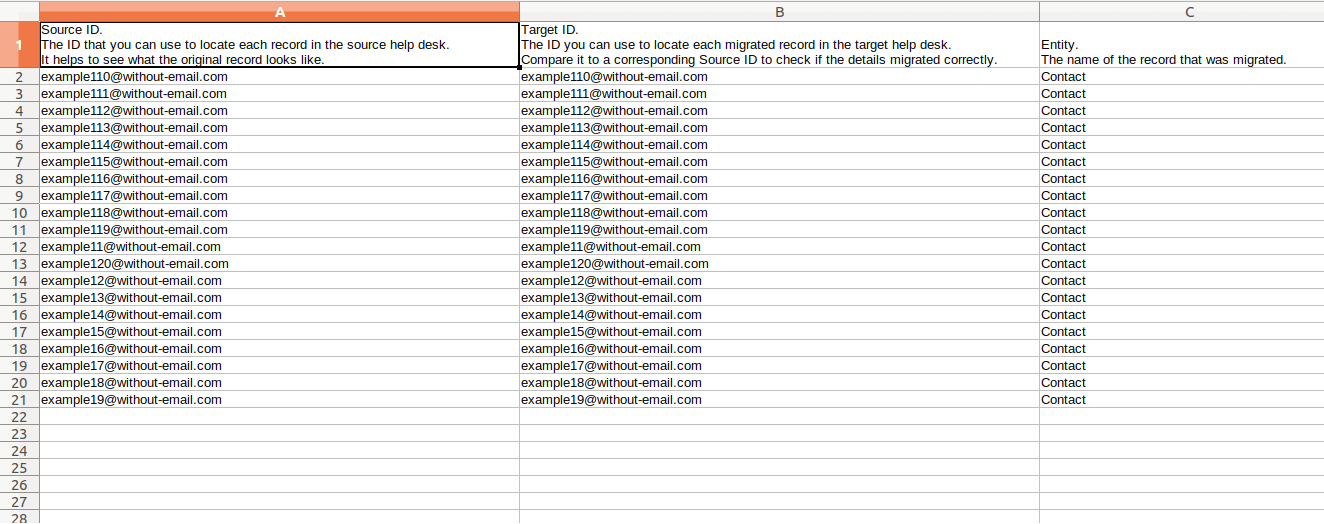
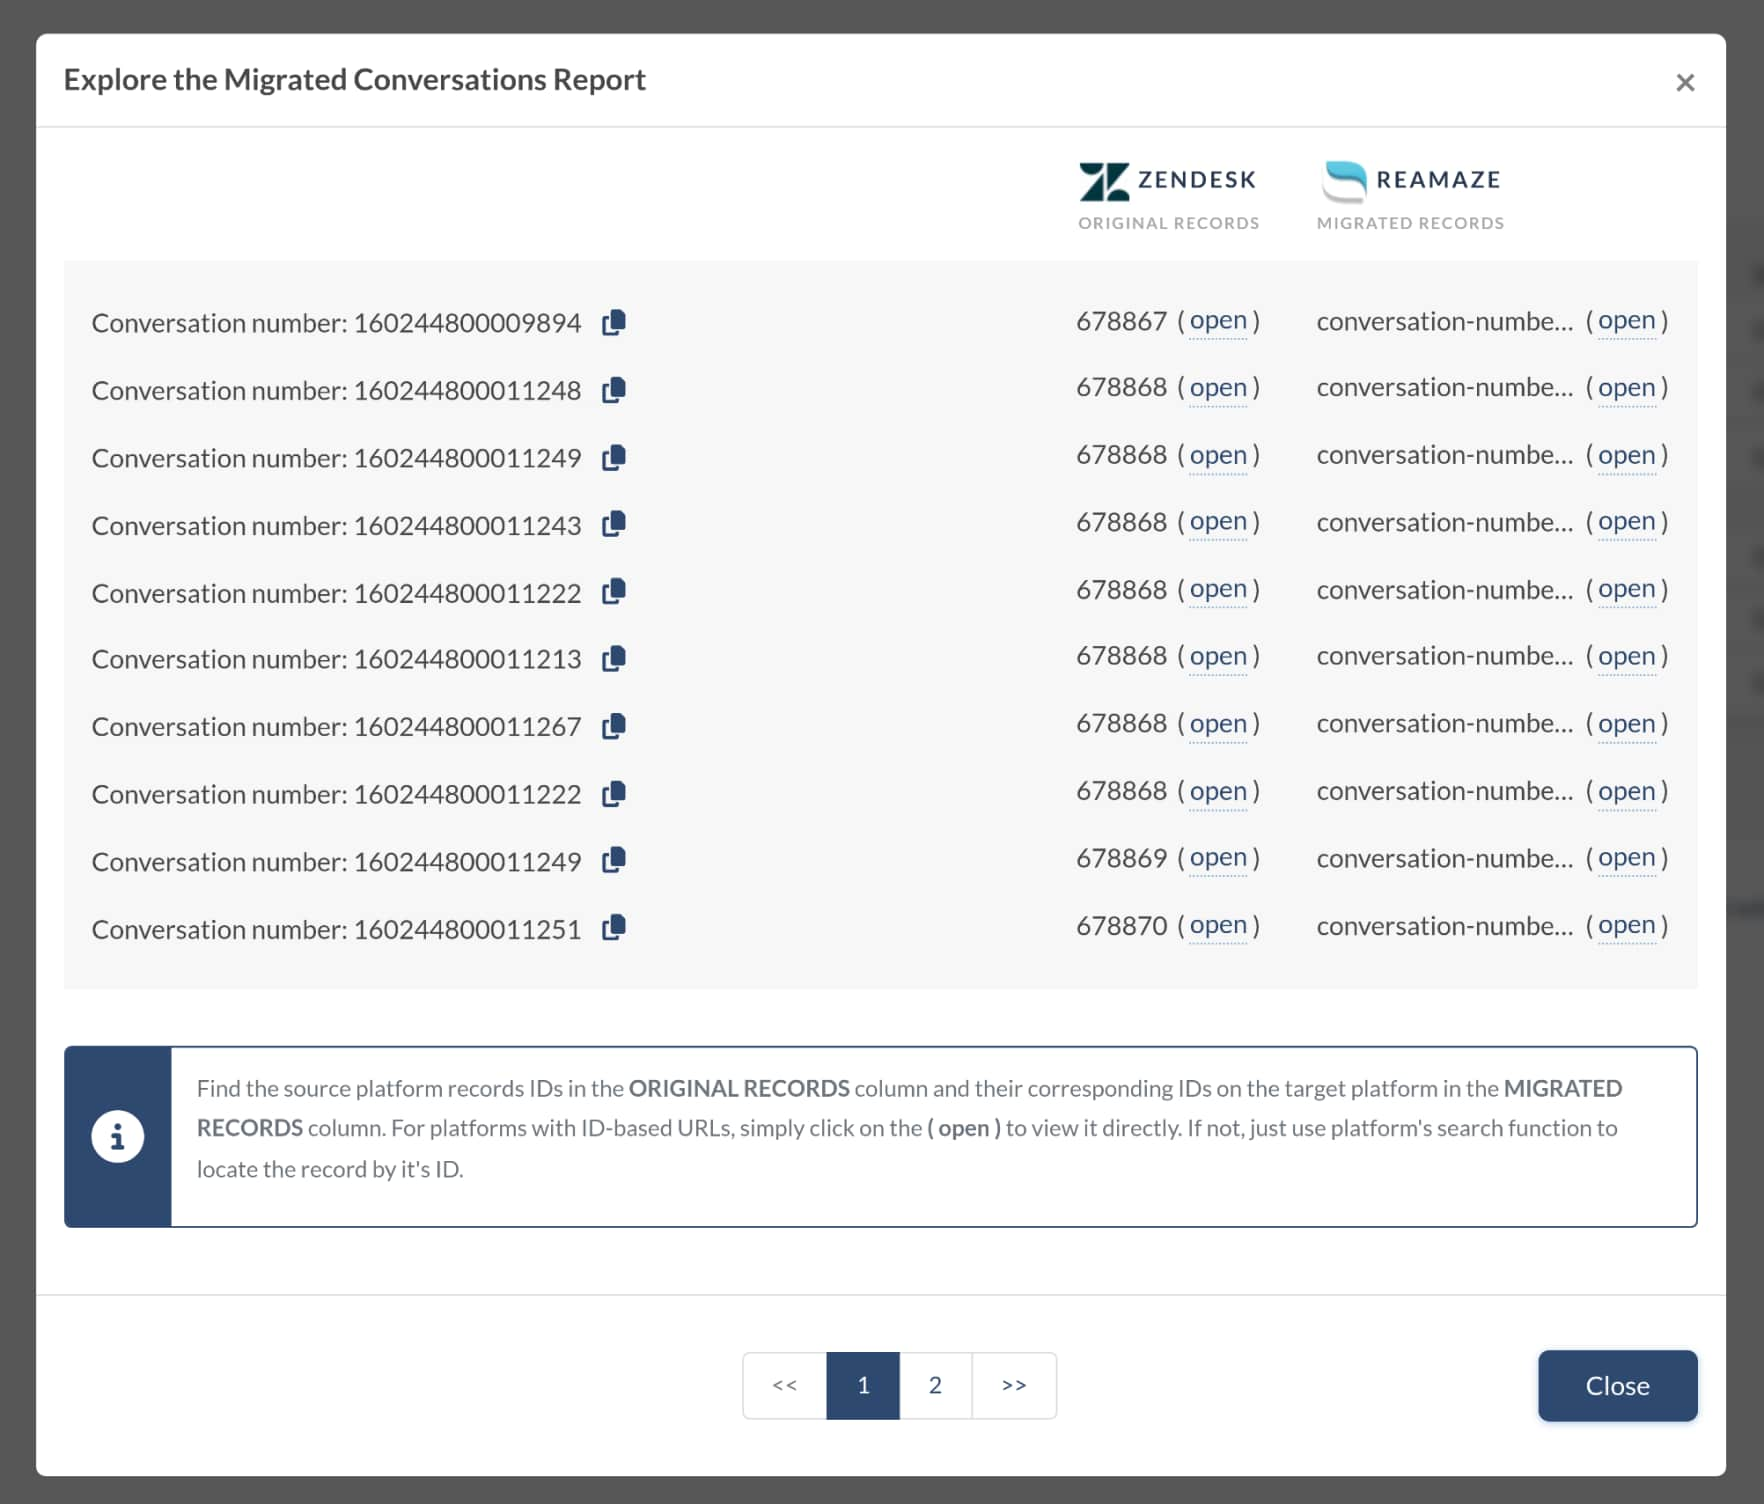
2. Click on the button next to a specific record type in the summary table to open a list. This list will contain detailed information about each record migrated to Re:amaze. You can check the IDs of transferred entities in both the source platform and Re:amaze.

3. Go through each ticket or record in Re:amaze to ensure that all data has been migrated correctly. Check various attributes such as type, status, priority, source, custom fields, requester, agent, and tags to verify accuracy.

4. If you are migrating your Knowledge Base, make sure to review all articles to ensure that they have been migrated with correct statuses.
5. Remember that the Demo Migration and Full Data Migration migrate records in the same way. Therefore, if any data fails to migrate during the Demo Migration, it is unlikely to be successfully migrated during the Full Data Migration as well.

How to reduce the price for migration to Re:amaze?
If you're looking to reduce the price for migrating to Re:amaze, here are two options you can consider:
Option 1. Migrate from a CSV file
Migrating from a CSV file tends to be cheaper compared to other migration methods. By preparing your data in a CSV file, you have the opportunity to clean up your records and streamline the migration process.
Option 2. Filter the source data
If you prefer not to deal with CSV files or if you have specific criteria for filtering your data, you can request a data filtering service. Our team can help you filter your source data based on your requirements. Keep in mind that data filtering is considered custom work and may involve an additional fee.
Before proceeding with data filtering, it's essential to define the criteria you want to apply to filter your data. This can include filtering by date range, ticket status, specific tags, or any other relevant parameters.
By choosing one of these options, you can tailor the migration process to better suit your budget and specific needs. Feel free to reach out if you have any questions or need further assistance with your migration to Re:amaze.
How to filter data in Re:amaze?
In Re:amaze, you can filter data to manage conversations more efficiently. Here are the main filters available:
All Conversations: This filter shows every single conversation, including both unresolved/open and resolved/closed conversations, in chronological order. It provides an overview of your overall workload and context of what has arrived before.
All Archived: This filter displays archived conversations across all channels. Conversations in archived channels do not appear in other filters.
On Hold: Conversations that are pending with an active reminder set are shown in this filter. When the reminder date and time is reached, conversations with active reminders will be moved out of the On Hold filter and into an open/unresolved filter.
Resolved: This filter shows all resolved or closed conversations. It is further divided into two sub-filters:
- Auto-Resolved: Conversations that were resolved by Re:amaze Assistant.
- Chatbot Resolved: Conversations that were resolved by a chatbot.
All Chat: Conversations initiated via the chat widget are displayed in this filter.
Outbound: Conversations initiated by a staff user using the New Message button at the top left corner of the dashboard are shown in this filter.
