Spiceworks Cloud Migration Guides
How to Import a JSON File into Spiceworks Cloud?
Once the Data Migration to Spiceworks Cloud is complete, download an archive with import.json file. Upload this JSON file into your Spiceworks account to finish up the data migration. But you need to extract a JSON file from an archive.
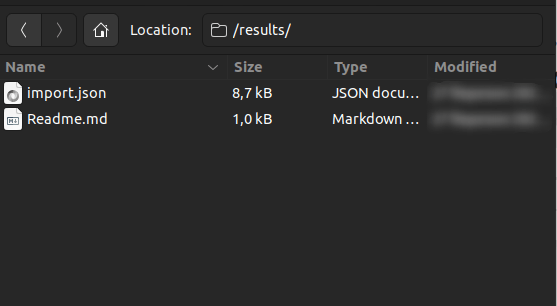
Here’s how to import a JSON file into Spiceworks Cloud:
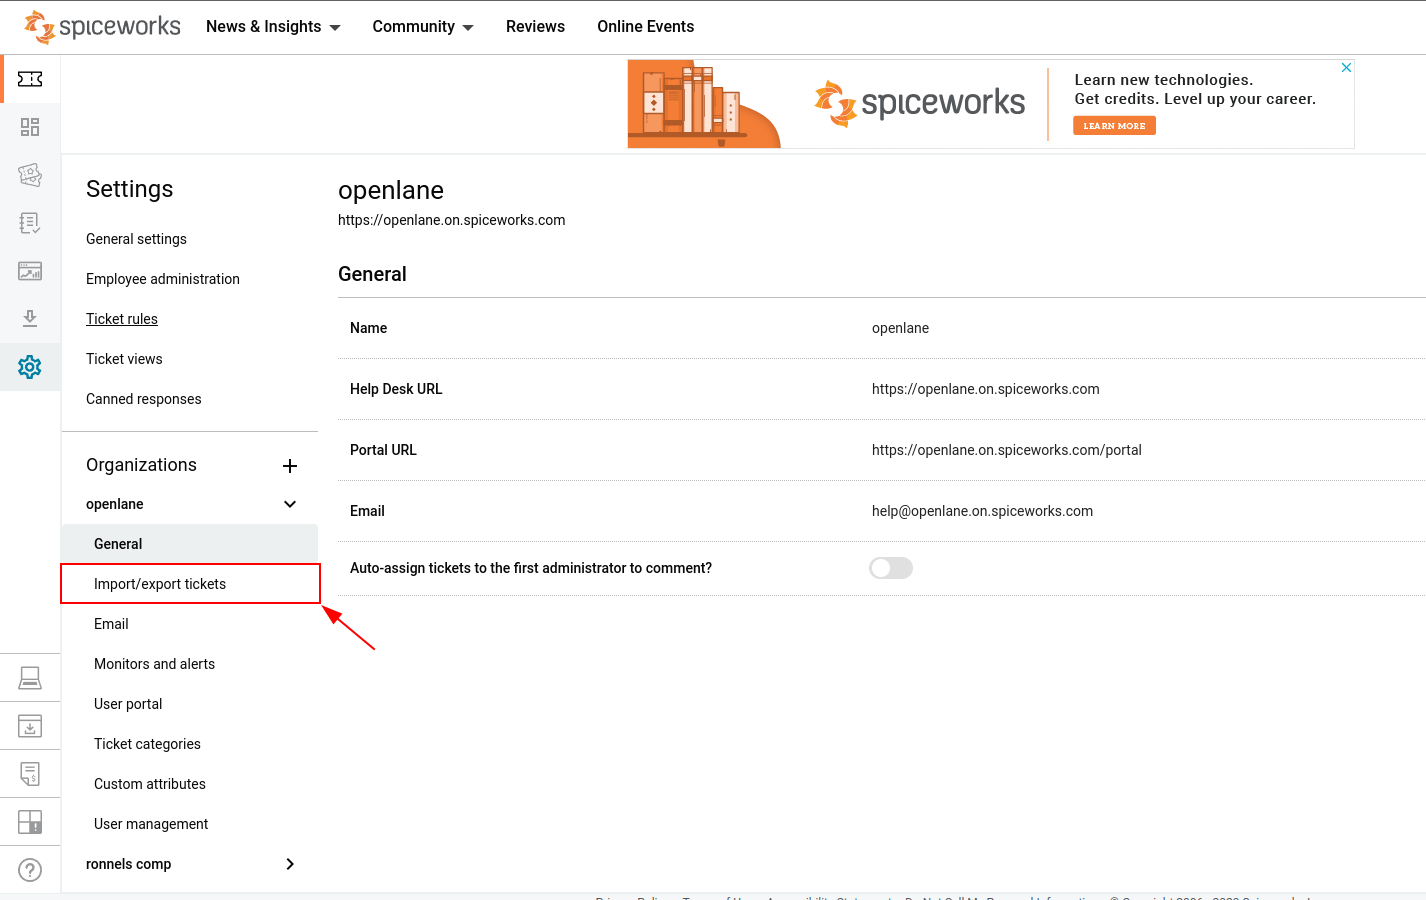
1. Open up your Spiceworks Cloud account.
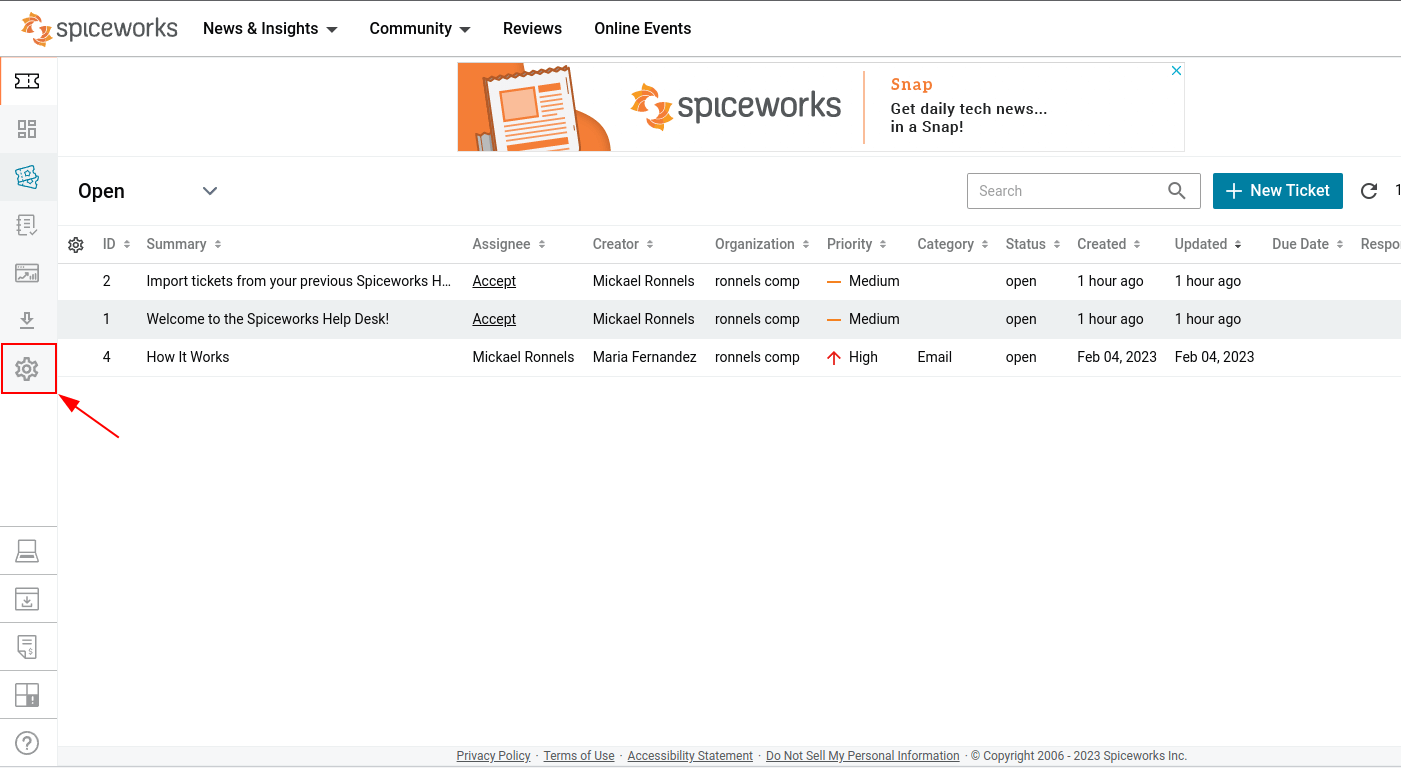
2. Navigate to Settings.
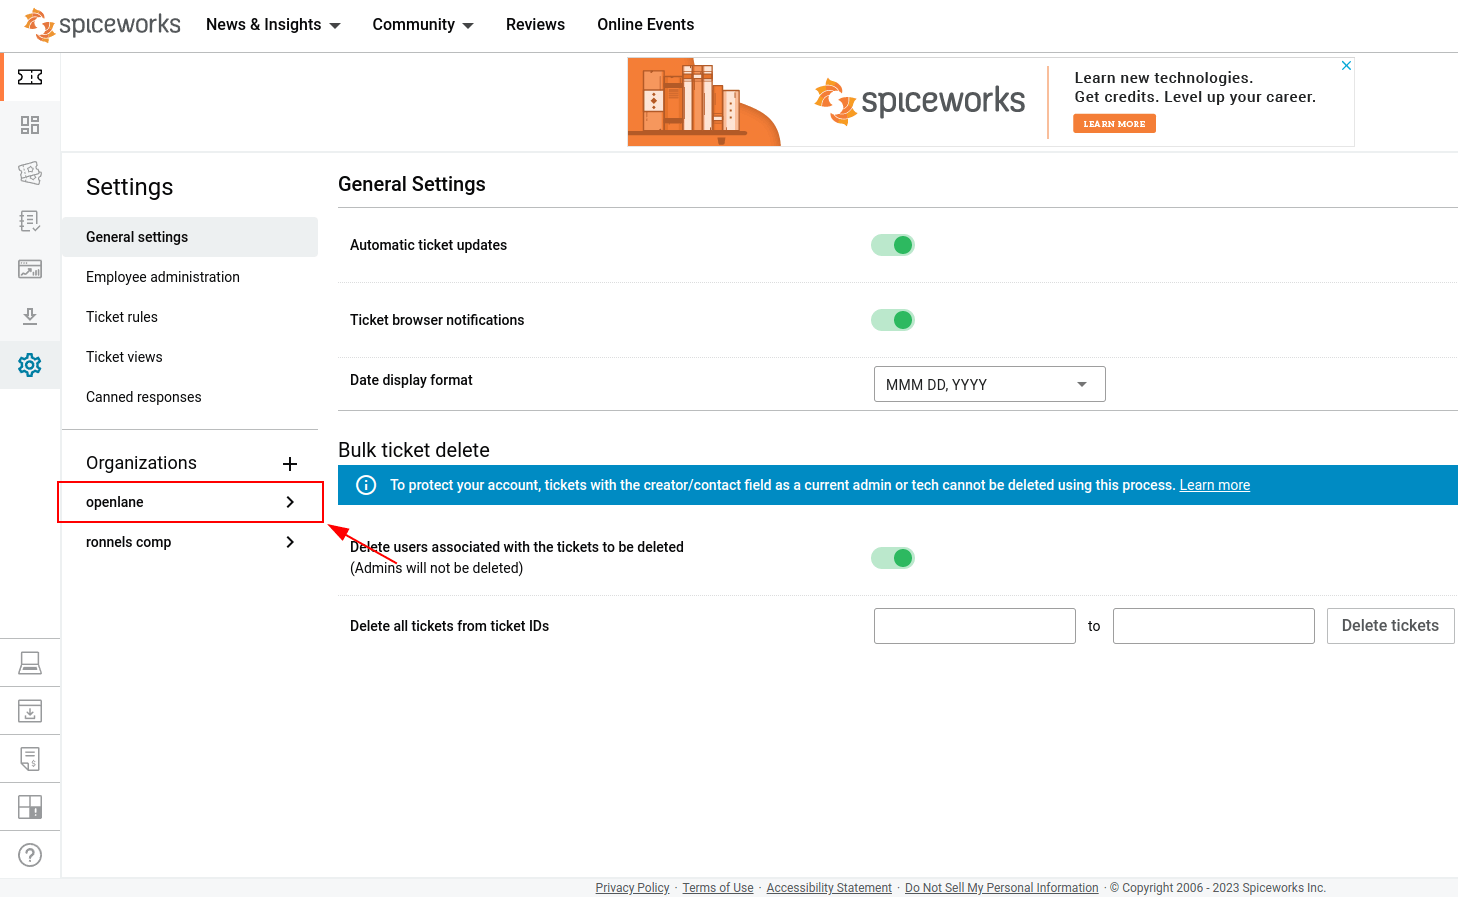
3. Select the appropriate organization.
4. Then go to Import/Export Tickets.
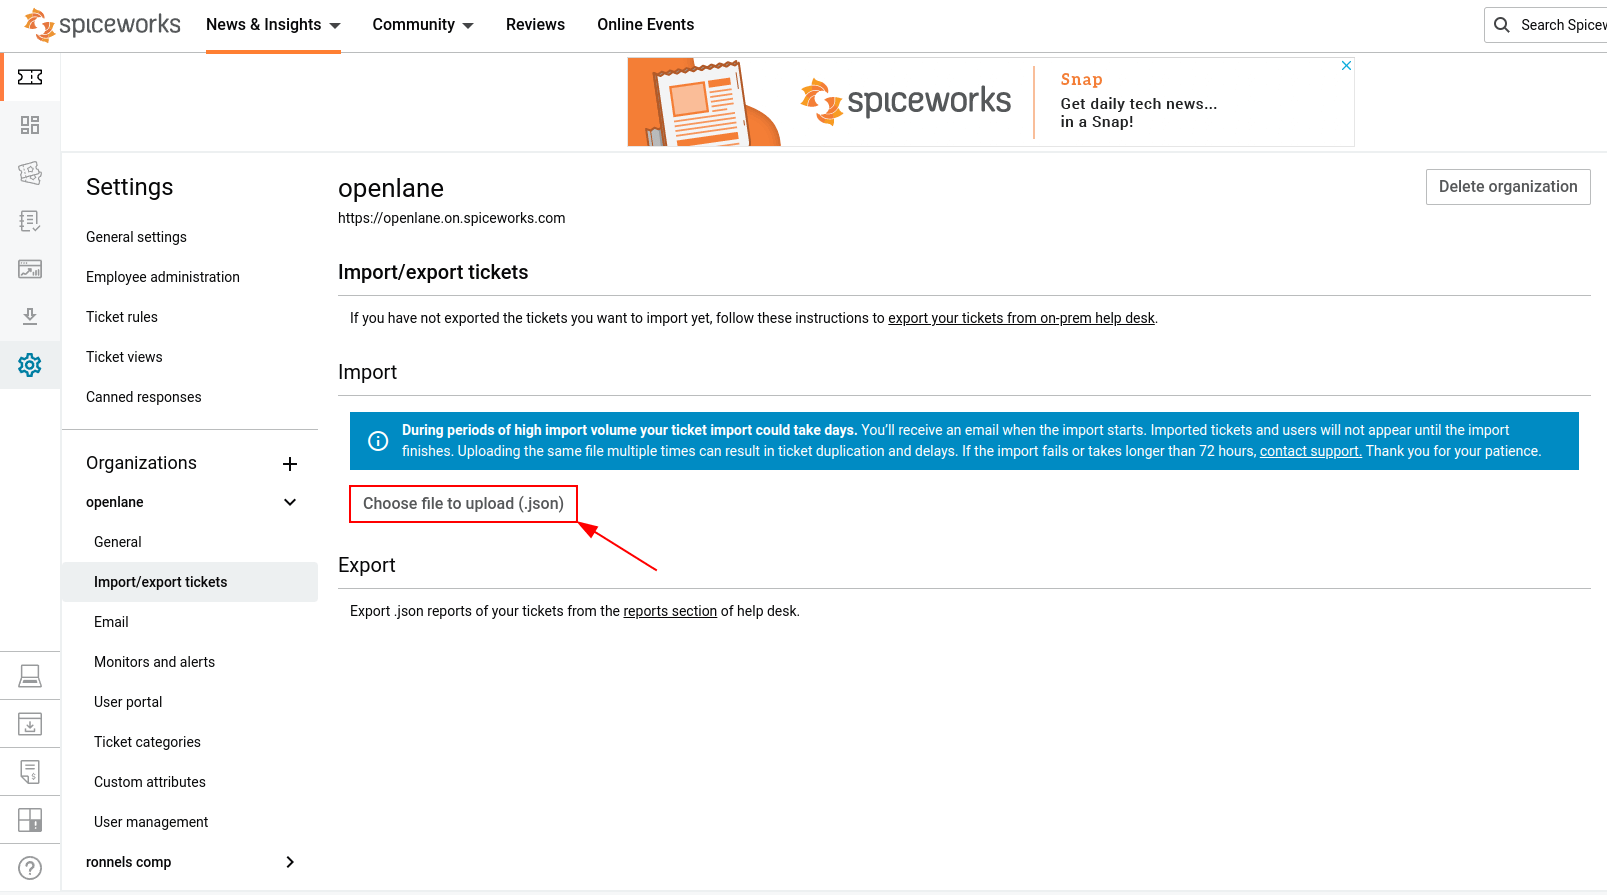
5. Click the Choose file to upload (json) button and choose the import.json file you’ve extracted before. Wait for the JSON file to upload.
6. Click Continue import to start the transferring process.
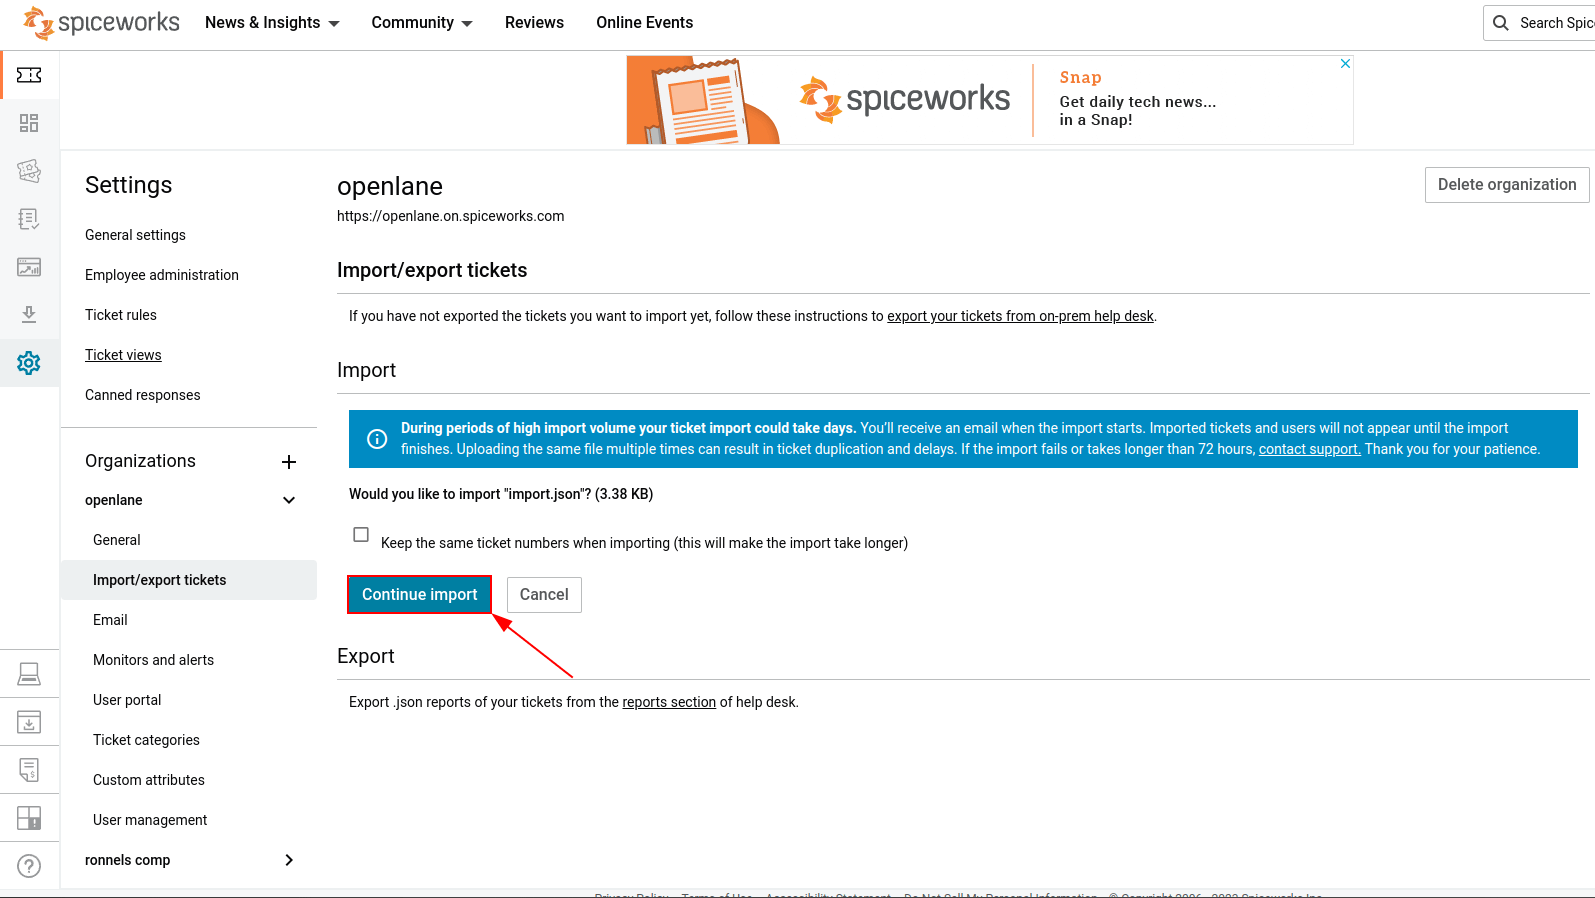
7. Once the JSON file import is complete, the account owner receives an email. And all imported tickets automatically appear on the ticket list.
How to Get Spiceworks Data Backup?
When you choose to migrate the data from Spiceworks, you’ll have to provide a backup file with all your Spiceworks account data.
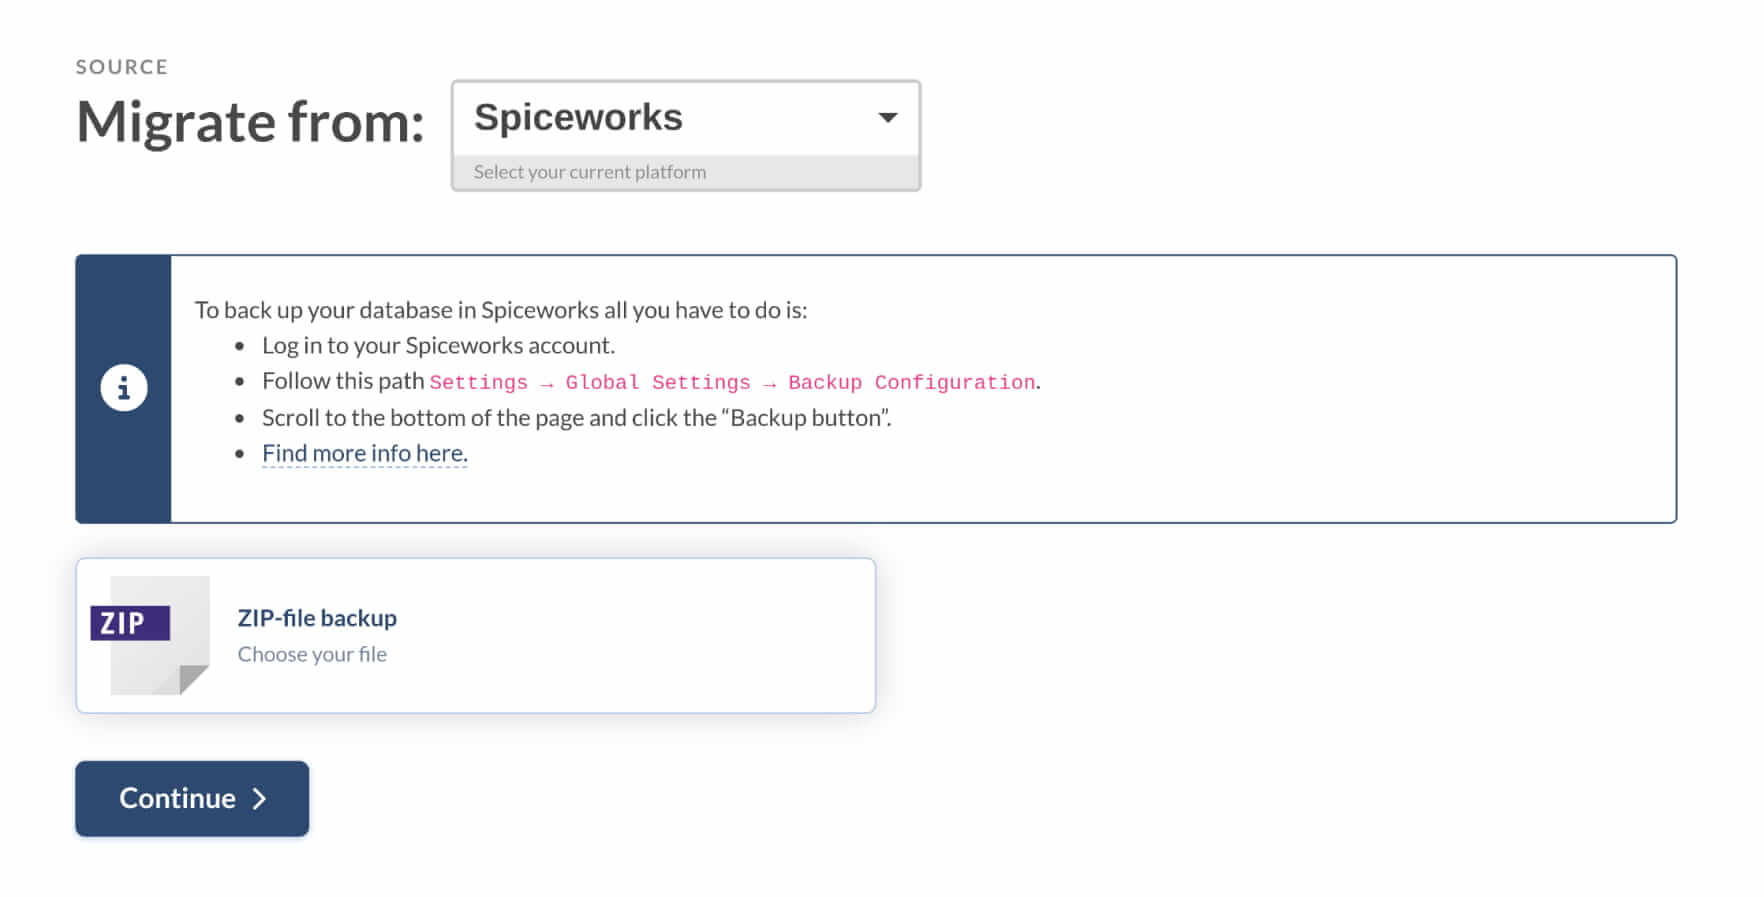
To get Spiceworks backup, all you have to do is:
1. Log in to your Spiceworks account.
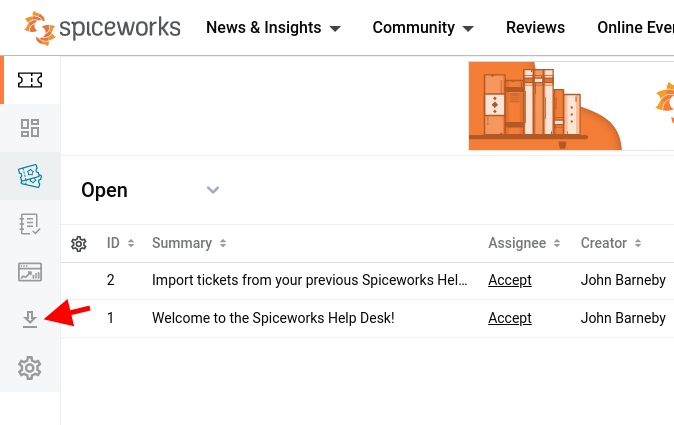
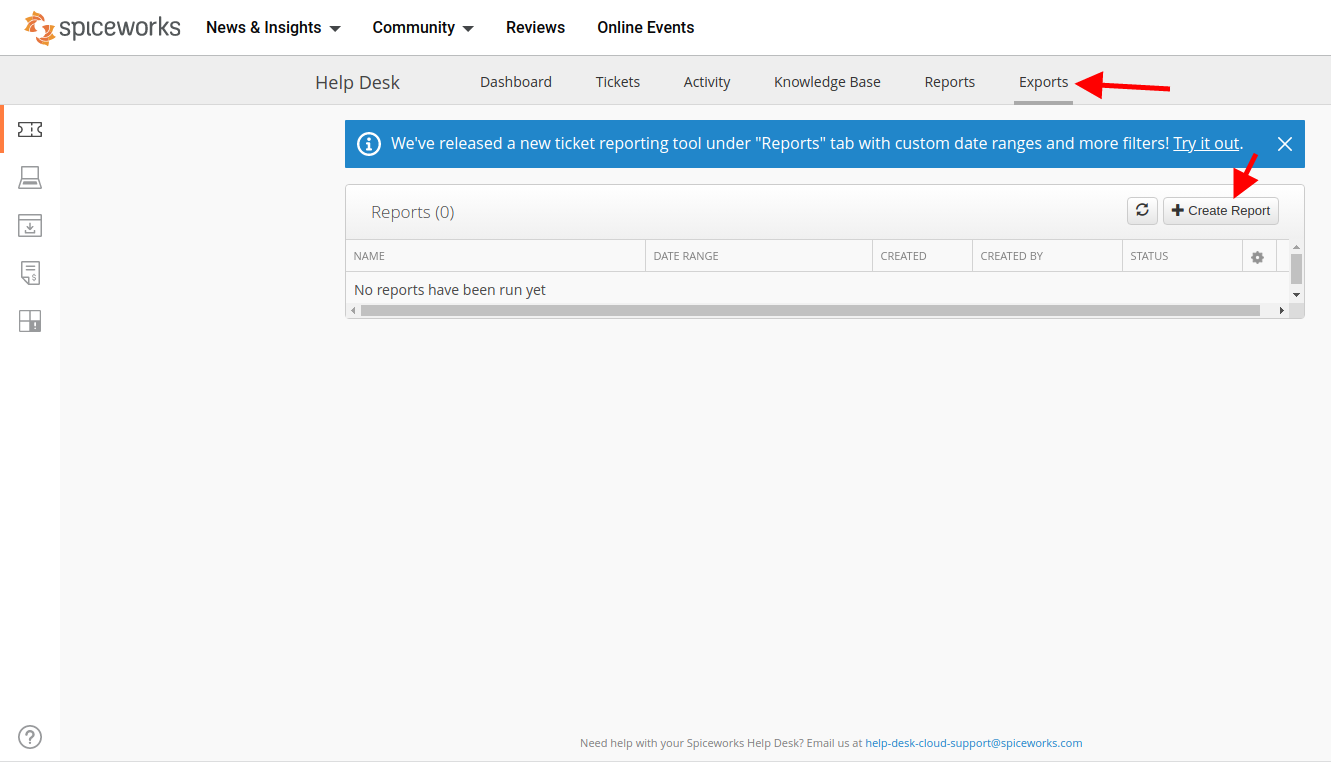
2. Go to Exports in the left sidebar.
3. Click the “+ Create Report” button to back up your data.
4. Once the backup file is ready, download it.
We prepared a visual tutorial on how to get Spiceworks data backup to make the process easier for you. Take a look at the video for a detailed guide.
Important Note: The built-in backup can backup up to 4GB of data. If your DB and data directories (in C:\Program Files\Spiceworks) are larger, check your help desk to see if you could archive any old tickets or remove any exceptionally large attachments.
Backup fail?
Email support@spiceworks.com to get your case investigated.
Database dump is corrupted error when migrating from Spiceworks
When migrating from Spiceworks, you might encounter the following error: Migration\Error\MigrationException: Your database dump is corrupted.
This error indicates that our service couldn’t locate the database in the file you provided. This typically occurs if the version of your Spiceworks is below .00107 release, as this issue has been resolved in subsequent updates.
To address this issue, simply update your Spiceworks installation, create another backup, and attempt to set up the migration again. If the problem persists, reach out to our support team. We'll investigate your case further and provide assistance to ensure a successful migration.
How to calculate the number of contacts in Spiceworks?
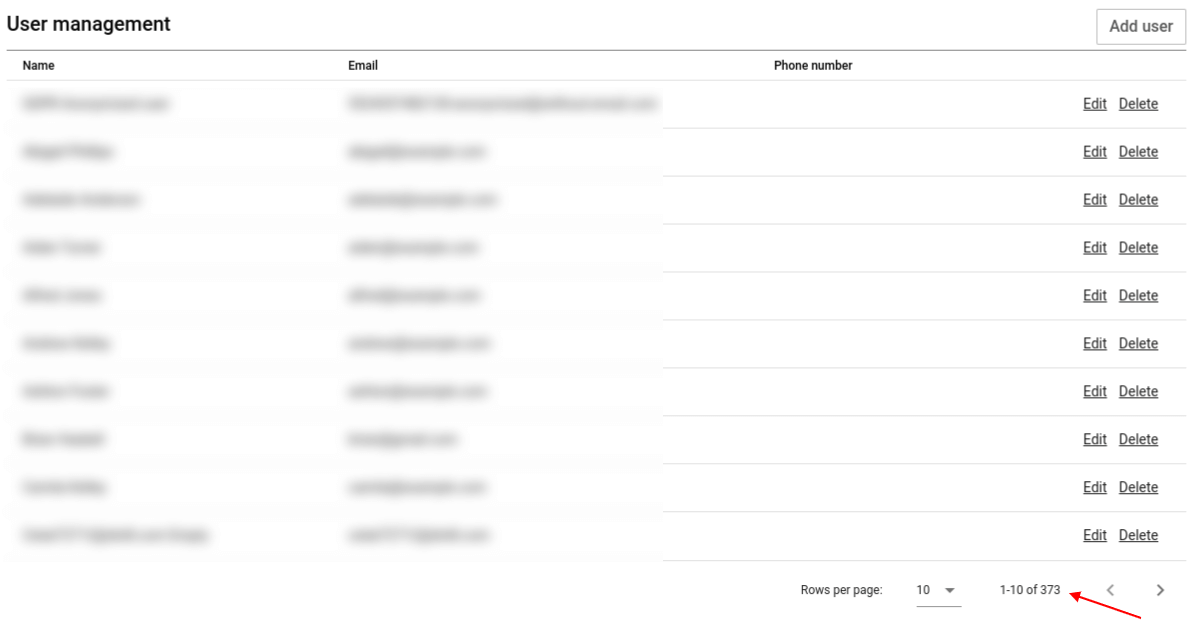
Spiceworks User Management contains information about contacts and allows you to count their number by organization.
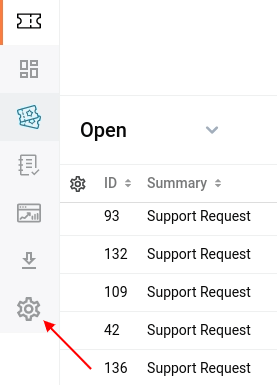
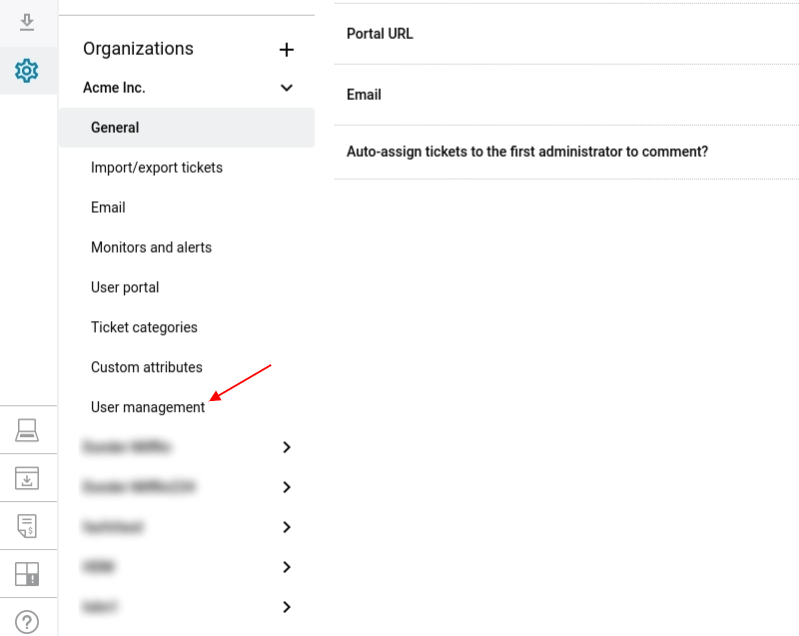
1. Open Settings from the sidebar menu.
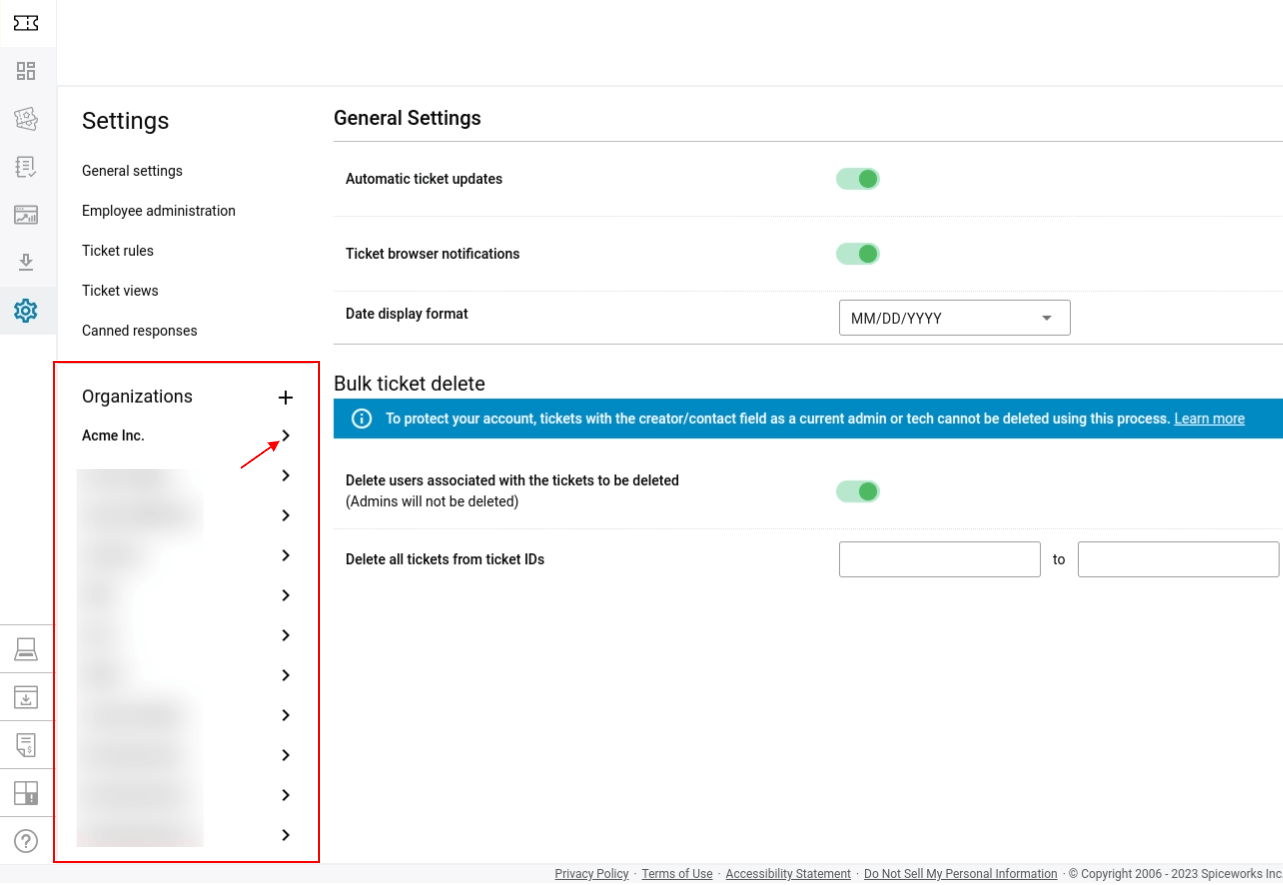
2. In the Organizations section, choose an organization by opening the dropdown menu.
3. Select the User management option.
4. Check the number of contacts in the selected organization under the contact list.
How to calculate the number of tickets in Spiceworks?
In the Spiceworks ticketing system, you can filter tickets by categories and calculate their number in the following way.
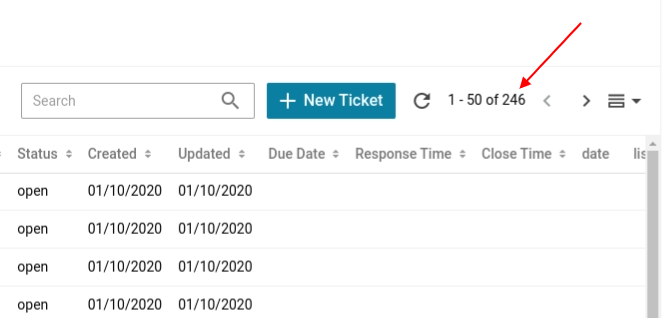
1. Choose Tickets from the Spiceworks sidebar menu.

2. Use filters to search specific tickets.

3. You can see the number of filtered tickets on the top right.
How to calculate knowledge base articles in Spiceworks?
Spiceworks knowledge management allows you to choose who can see your articles. Thus, it divides articles into those accessible only to you or your team. To count their number, use this guide.
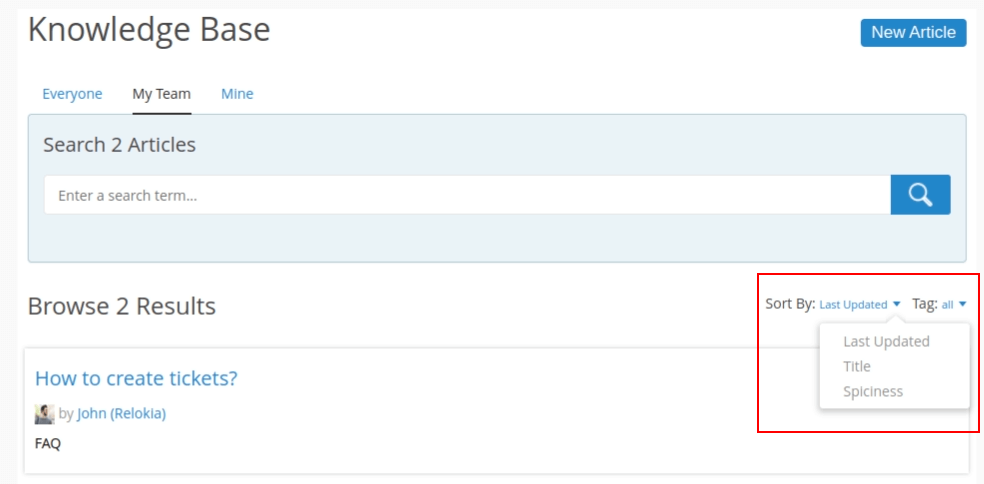
1. Open Knowledge Base from the sidebar menu.
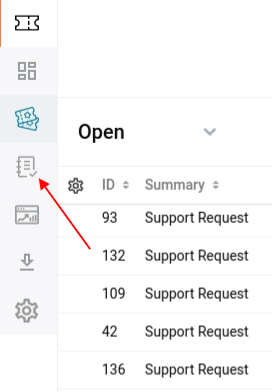
2. Spiceworks sorts articles depending on the article's visibility. You can choose My Team or Mine.
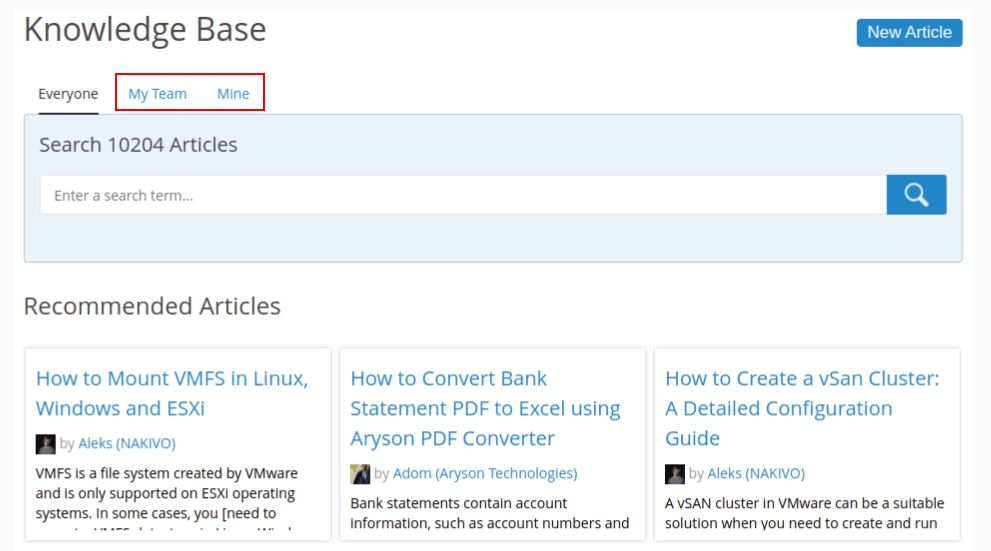
3. Once you select the category, Spiceworks automatically calculates the number of filtered articles.
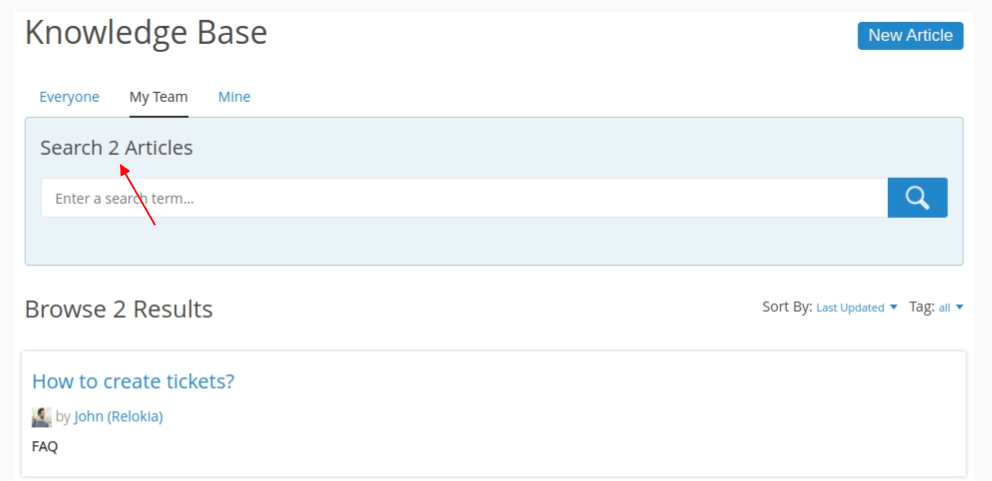
4. Also, you can filter articles by details like Last Updated, Title, Spiciness, and Tag.
