When you’ve got customers around the globe, a multilingual knowledge base is a must-have. The question is: how to migrate content translations avoiding a manual aspect?
Last year our development team powered up Migration Wizard with out-of-the-box options:
- Add a new tag to the migrated tickets
- Migrate inline images as ticket attachments
- Skip attachments
- Migrate call recordings
Today, we're introducing a new automated option for transferring knowledge base translations between specific help desk platforms. Use this feature to migrate content translations and continue supporting your customers worldwide with localized guides.
How Does Migrate Content Translations Work?
Using ‘migrate content translations’ helps you to import translated versions of each article in your Help Centre. The automated option is available in both source and target platforms including multilingual support.
You can migrate translated articles across :
Content translation refers to having different language versions of an article with the same article ID. If these versions have different IDs, the Migration Wizard will only import the default version. It imports only translations with matching article IDs.
Before setting up your migration, make sure to add the language versions from the source platform to the target. This ensures that content translations migrate correctly.
How to Add a New Language in Zendesk?
Go to Settings > Language settings > Add a new language > Choose from any of the supported languages > Add a language.
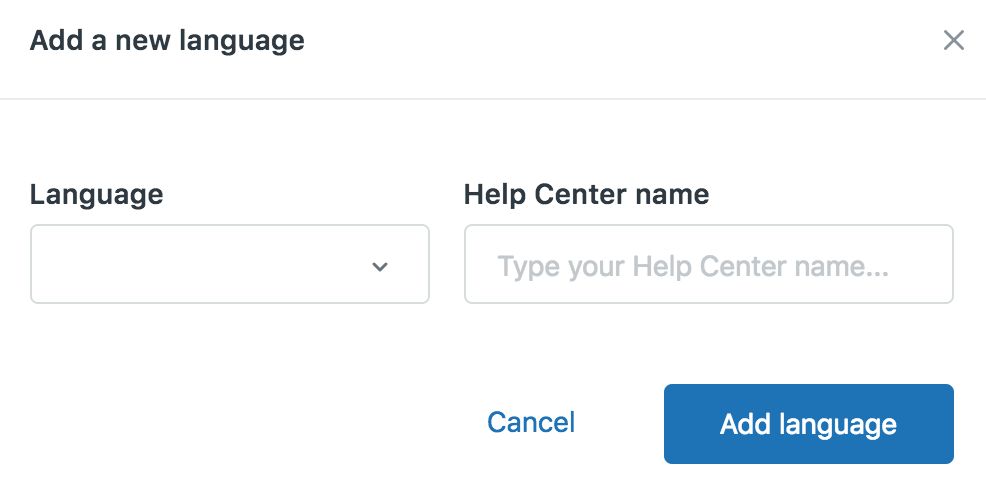
Adding a new language on Zendesk. Source: Zendesk
How to Add a New Language in Freshdesk?
Navigate to Admin -> Account -> Helpdesk Settings > Manage Languages -> set the Supported languages from the dropdown menu.
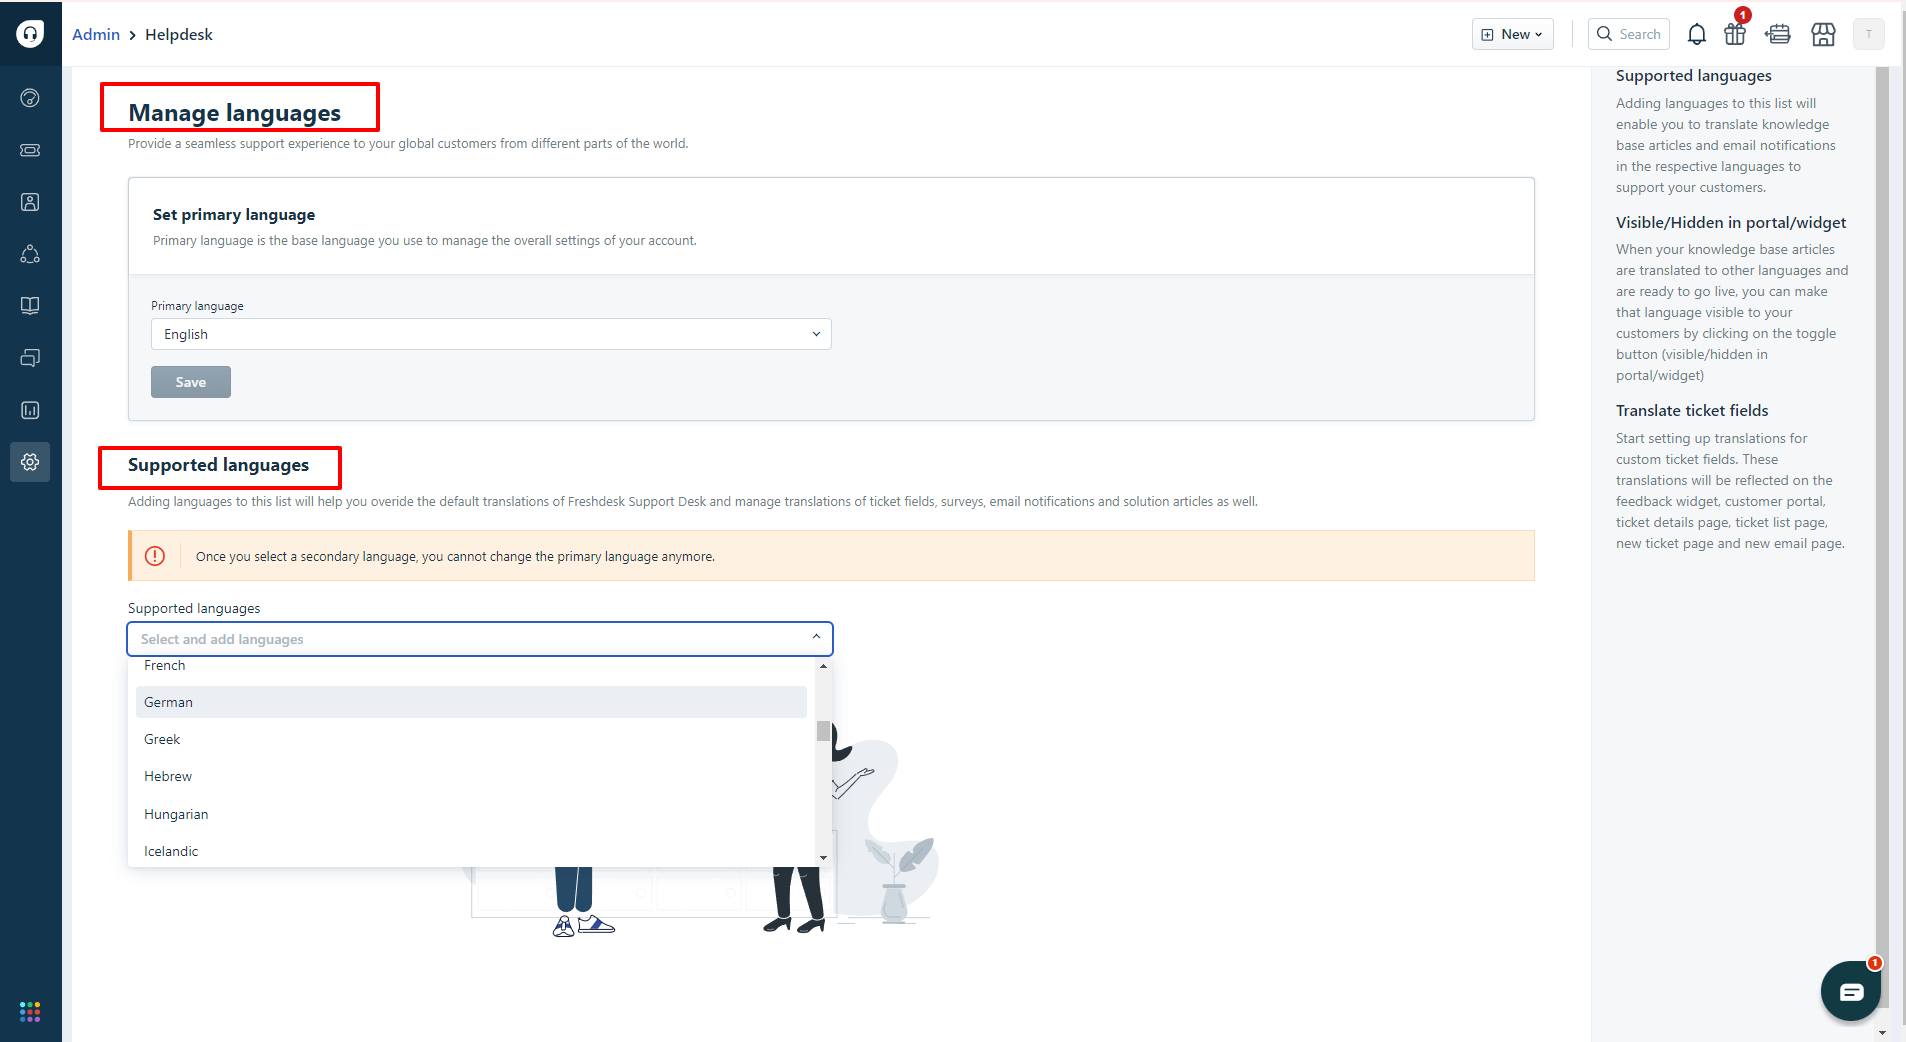
Creating a new language on Freshdesk. Source: Freshdesk
The out-of-the-box feature ‘Migrate content translations’ lets you import:
- translated articles
- localized sections
- translated categories
How to Set Up Help Desk Data Migration Including Language Versions?
Step 1. Connect your source platform.
Step 2. Choose your target platform.
Step 3. Pick to migrate knowledge base objects, “migrate content translations” is found under the Articles section. Check to activate the option.
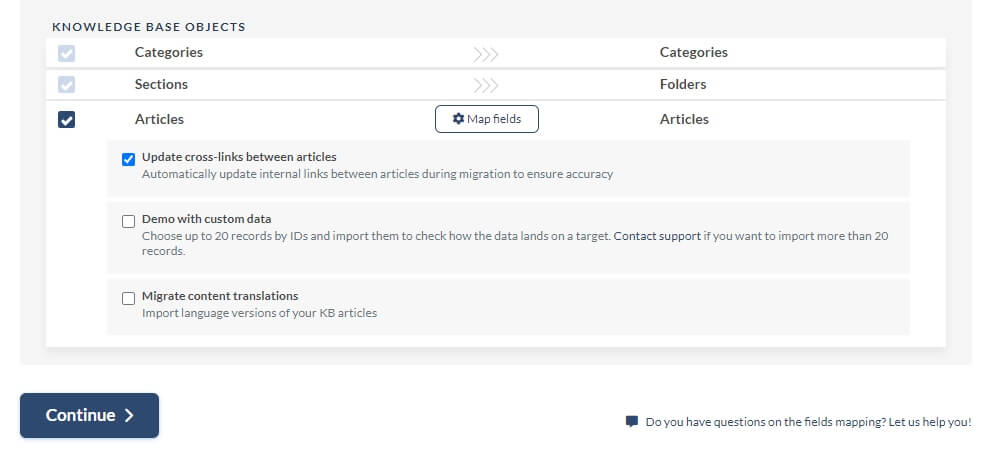
Step 4. Undergo the mandatory steps: match your agents and match your agent groups. Then map your tickets and article fields.
Step 5. Run a Free Demo Migration to test-drive our Migration Wizard.
Step 6. After a Demo Migration, you check the migrated data and knowledge base transitions in your target platform.
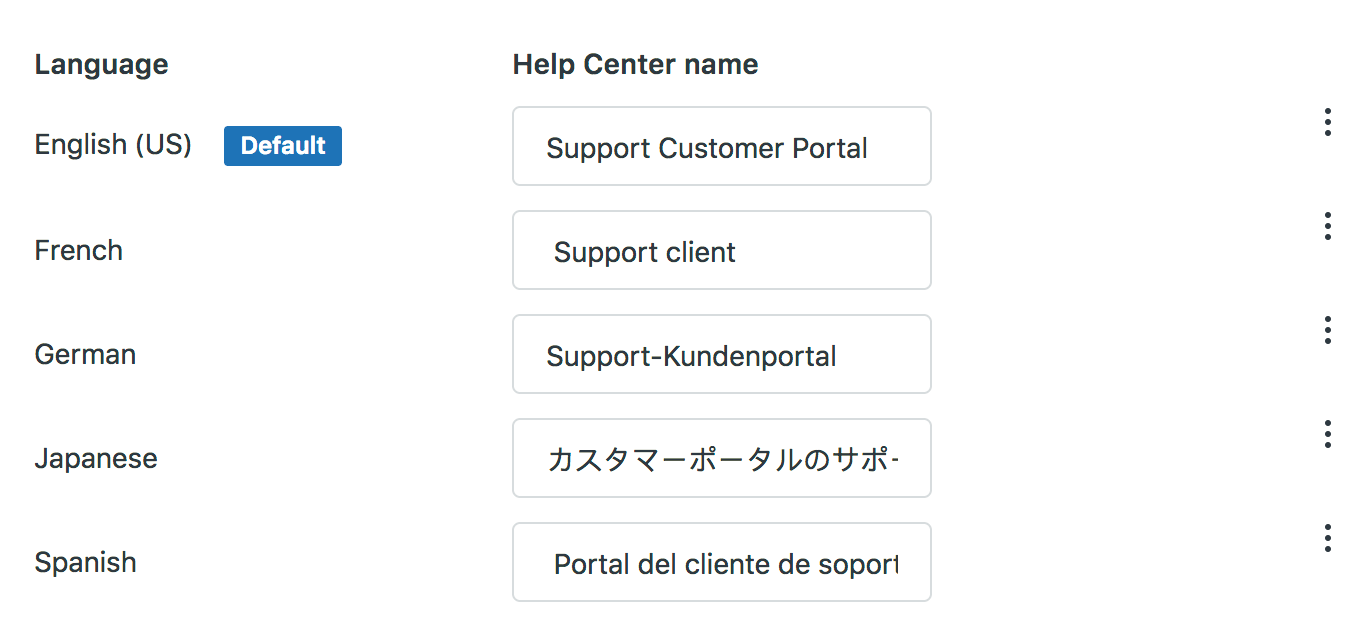
Multiple languages on Zendesk Guide knowledge base. Source: Zendesk
Let’s Migrate Content Translations Automatedly
Let this automated option for knowledge base translations help you to provide an outstanding localized customer experience on your new help desk tool. If you have any questions, drop a line to our support reps.

